
Annotations
Learn how to create annotations on your 3D models in the 3DtoMe apps and the web viewer.
Annotations
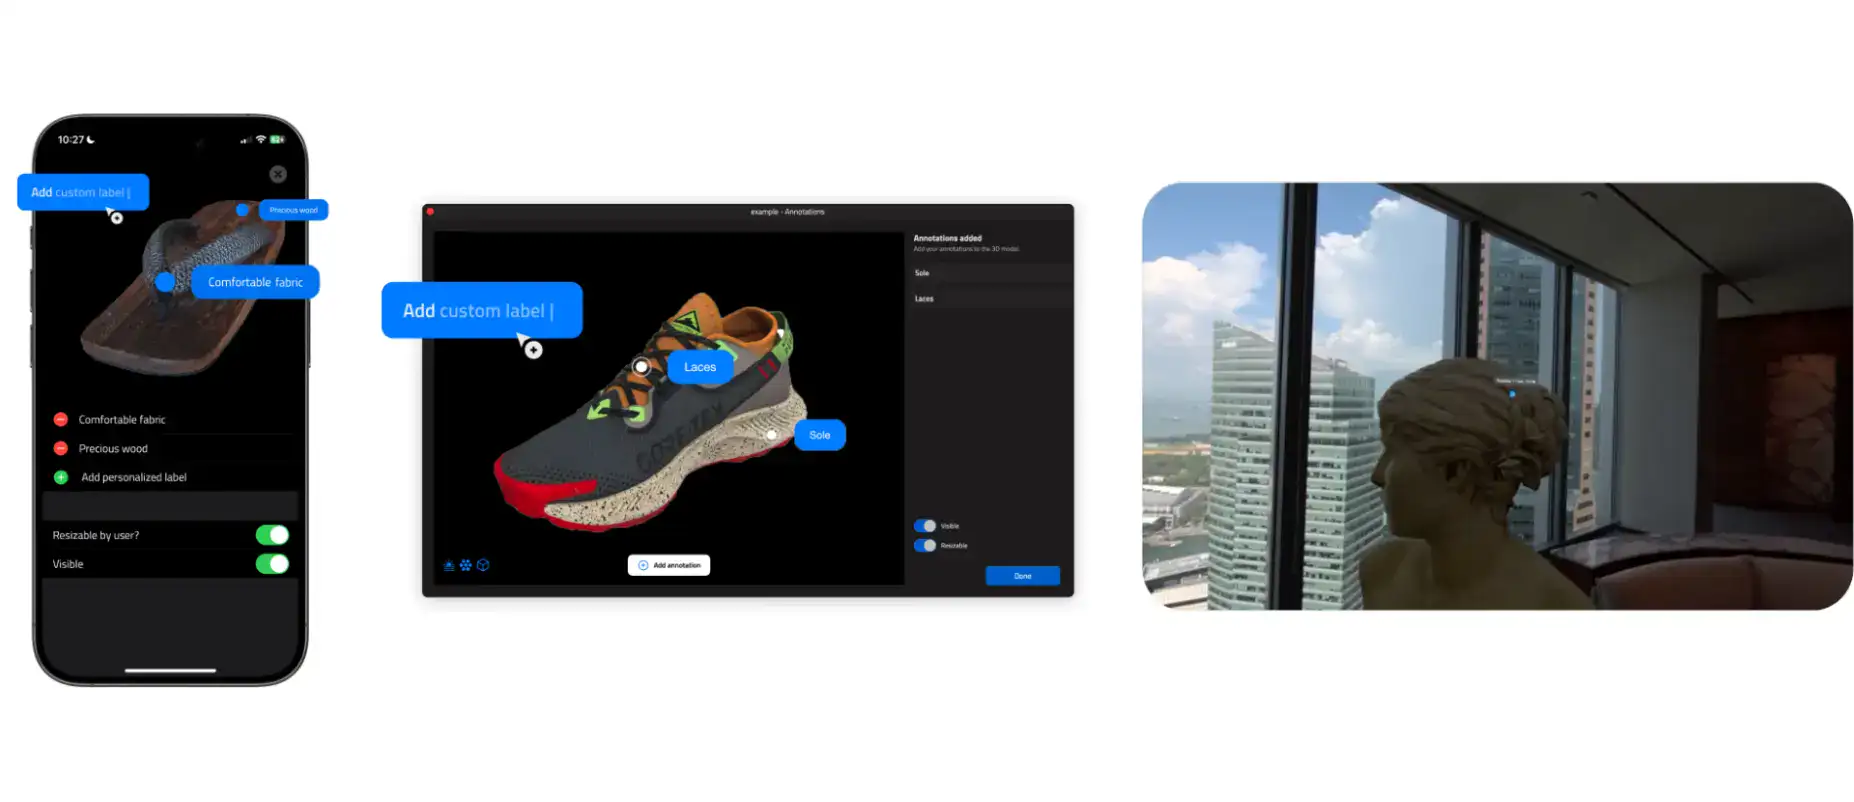
Annotations are a great way to add informations to your 3D content, highlight specific areas of your model and provide additional context to your audience.
Every app and viewer in the 3DtoMe ecosystem supports annotations. You can create them in the 3DtoMe apps and in the web viewer. Visitors also see them on websites inside the 3DtoMe embed.
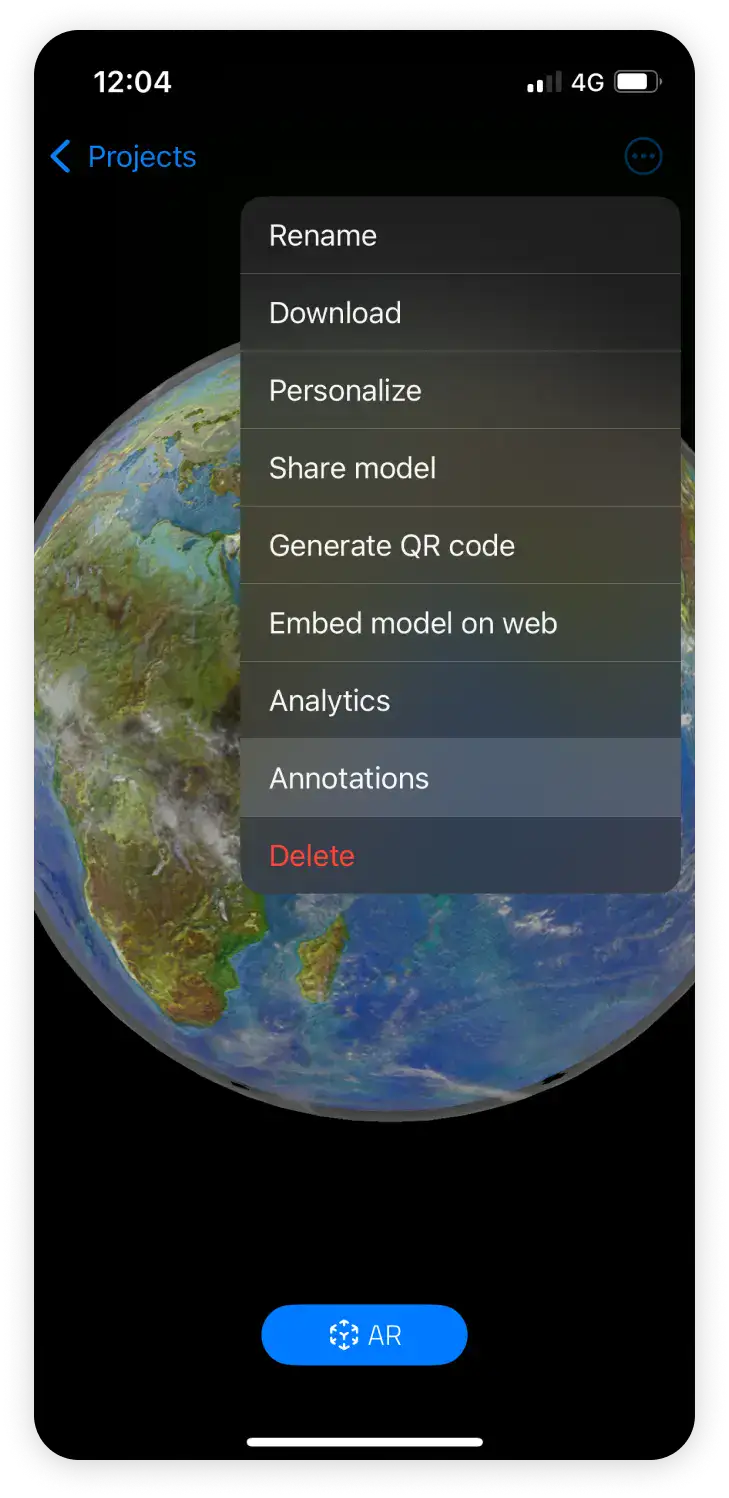
To create an annotation on 3DtoMe for iOS, follow these steps:
- Open the 3DtoMe app on your iOS device.
- Open the model you want to annotate.
- Tap the option icon in the top right corner of the screen.
- Tap on Annotations in the menu.
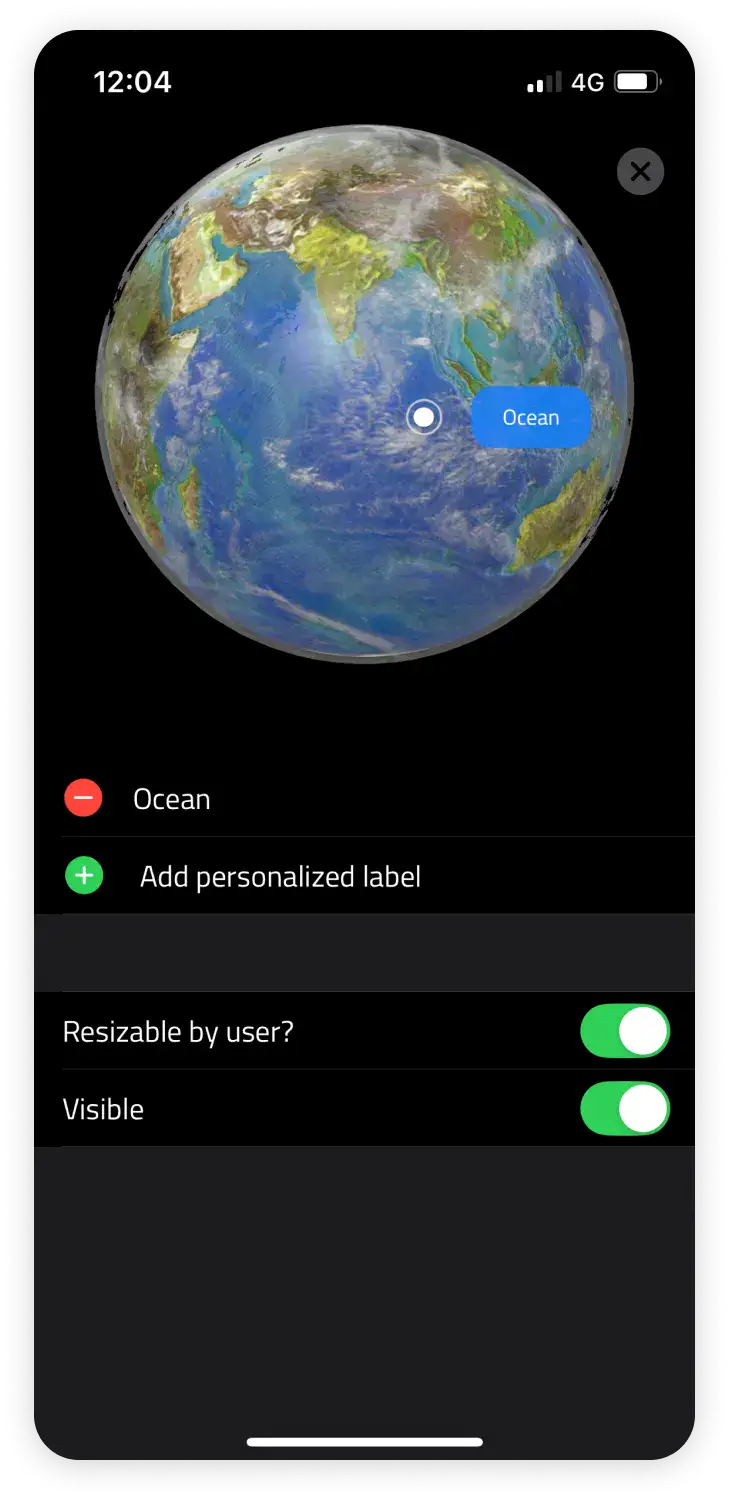
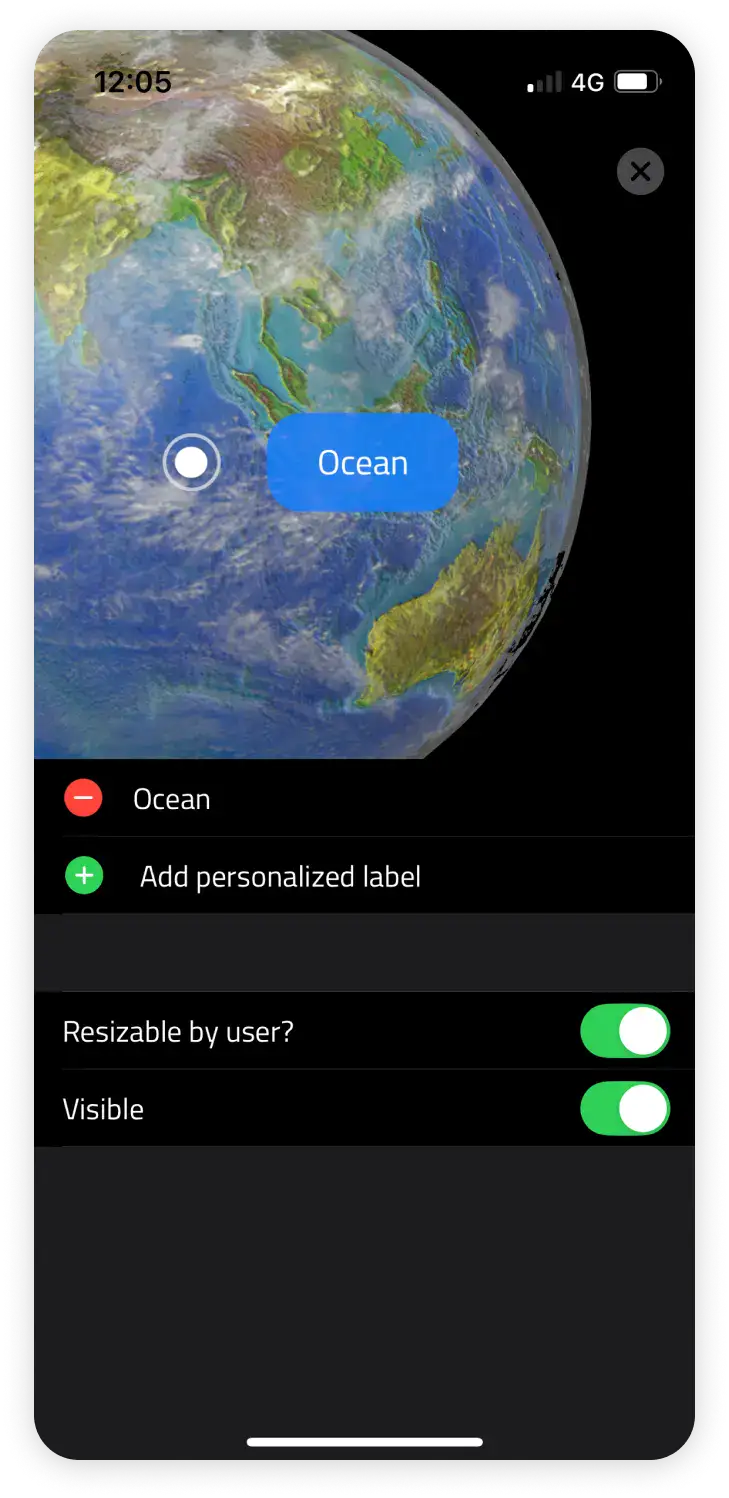
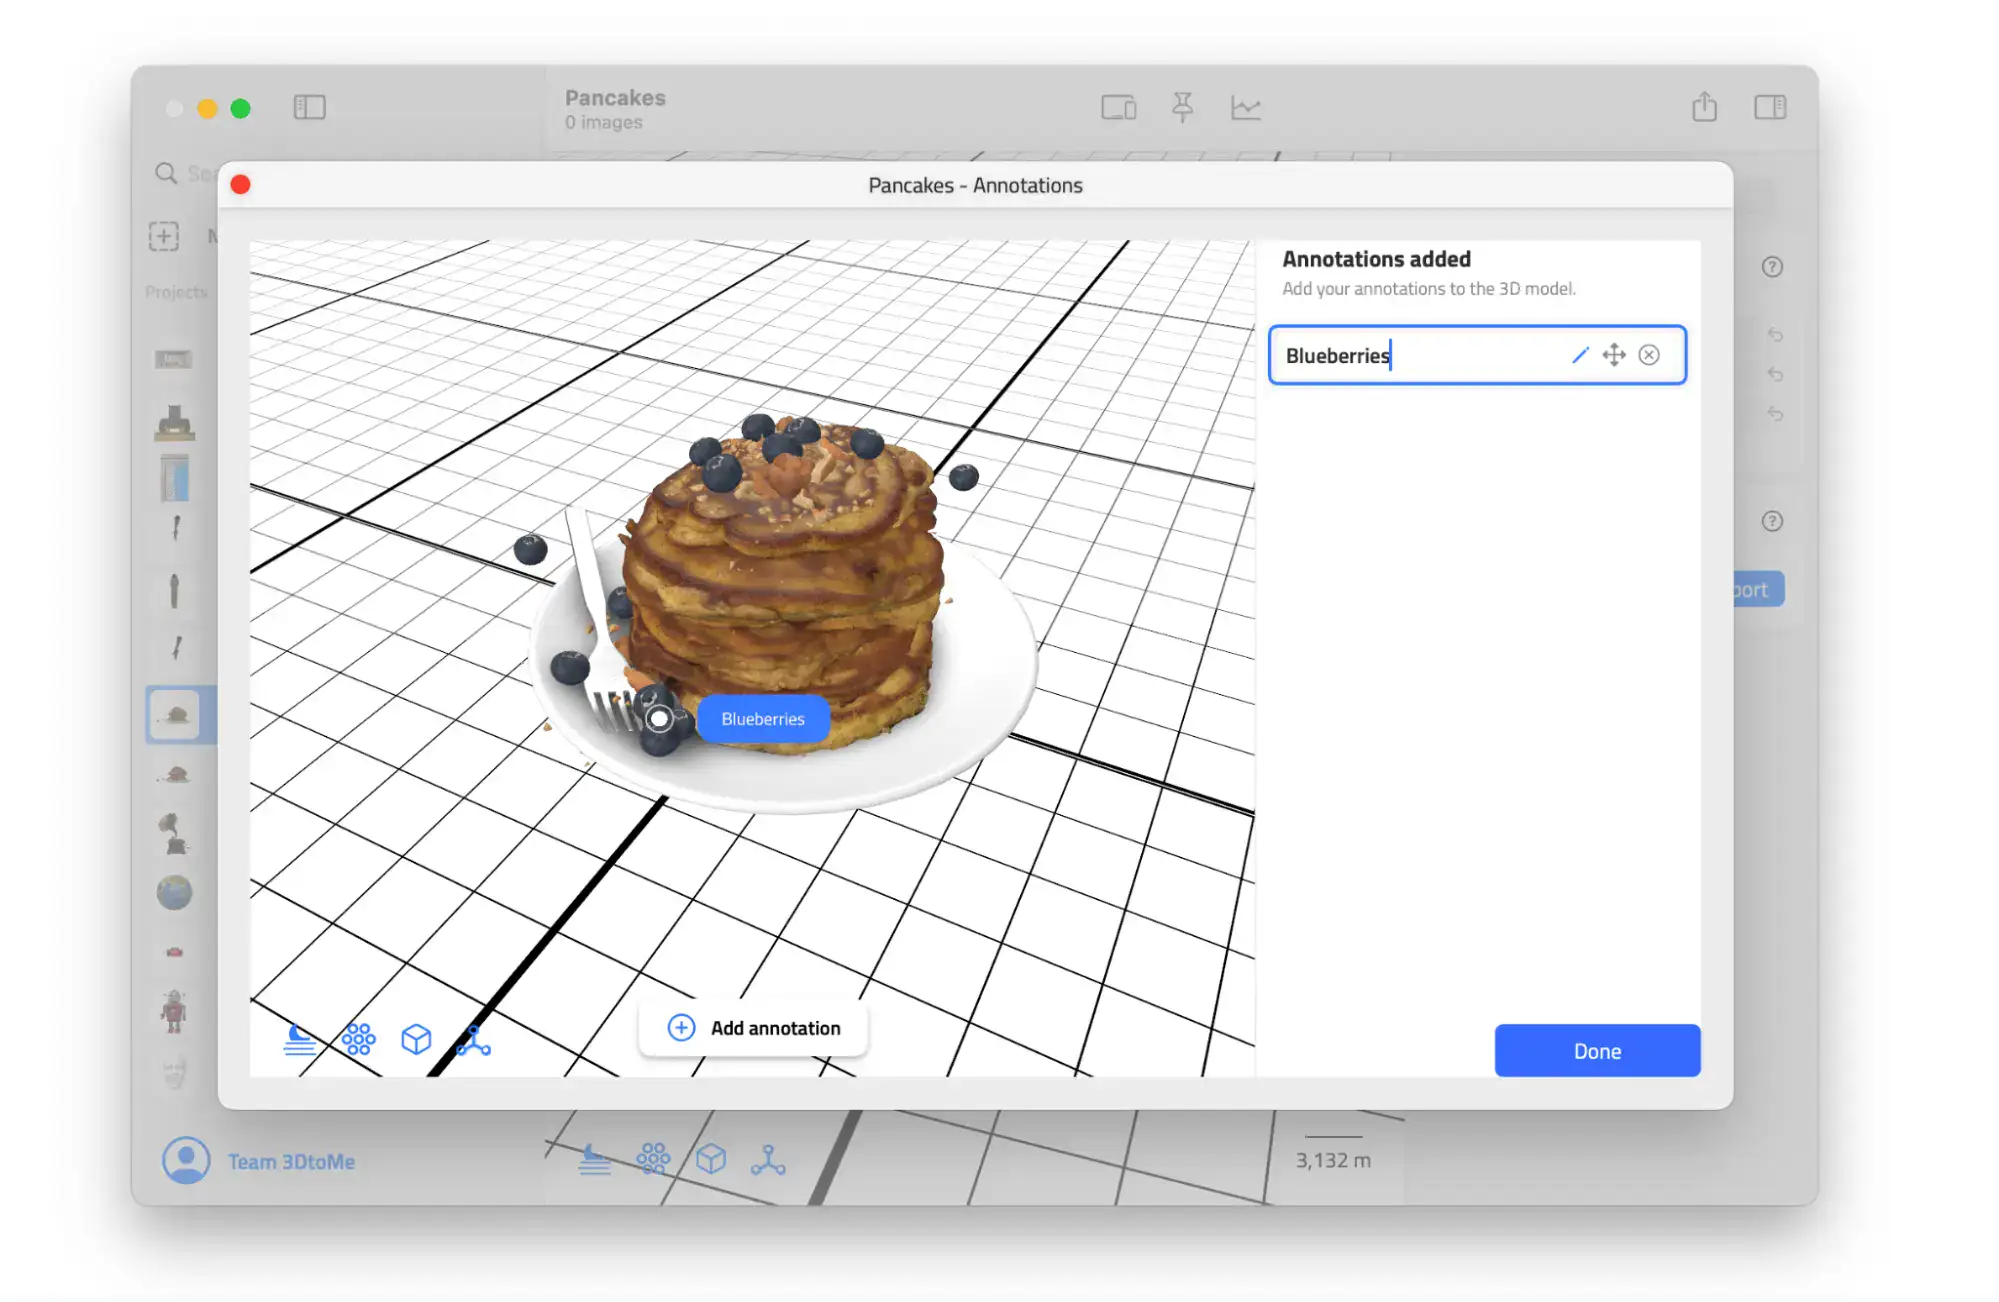
To create an annotation on 3DtoMe for macOS, follow these steps:
- Open the 3DtoMe app on your macOS device.
- Open the model you want to annotate.
- Click the pin icon in the top bar.
- Follow the instructions to create an annotation or edit an existing one.
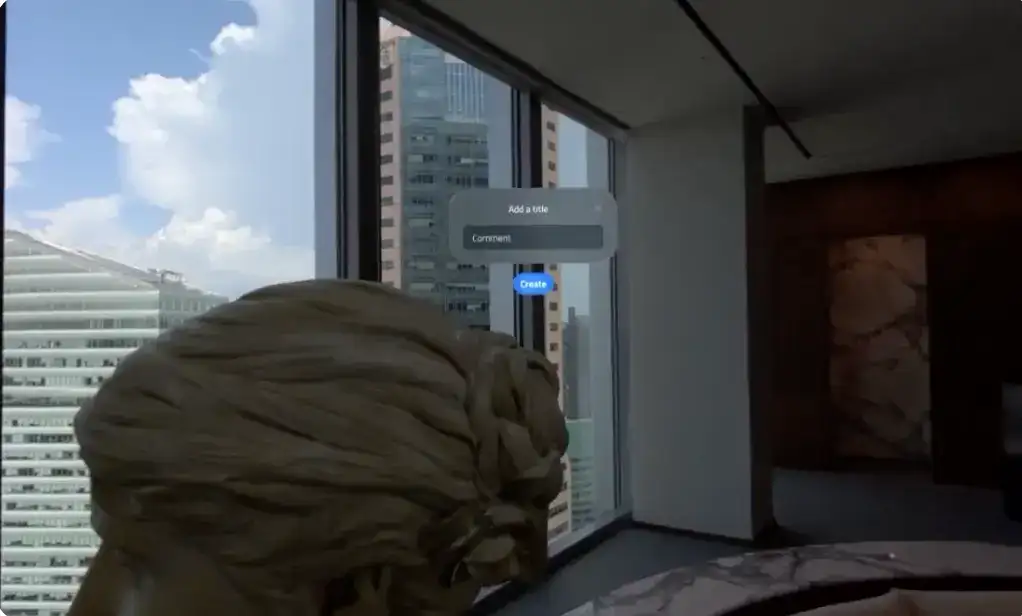
To create an annotation on 3DtoMe for visionOS and Android XR, follow these steps:
- Open the 3DtoMe app on your visionOS or Android XR device.
- Open the model you want to annotate.
- Click the pin icon in the floating menu.
- Follow the instructions to create an annotation or edit an existing one.
Add annotations on the web
In the web viewer, annotations live in the Annotations tab of the right panel. You need to be signed in to add one.
The web viewer saves annotations only for the project owner, on a project that is not public. Annotations that anyone else adds appear only on that person's screen. They disappear when that person leaves or reloads the page. The same goes for renaming and deleting.
- Open the project.
- Open the right panel with the button at the top right, then click the Annotations tab.
- Click the + button next to the tab title. A hint says "Click on the model to place an annotation". The existing pins hide until you finish.
- Click the point on the model where you want the pin.
- In the New annotation window, type a Label and click Add, or press Enter.
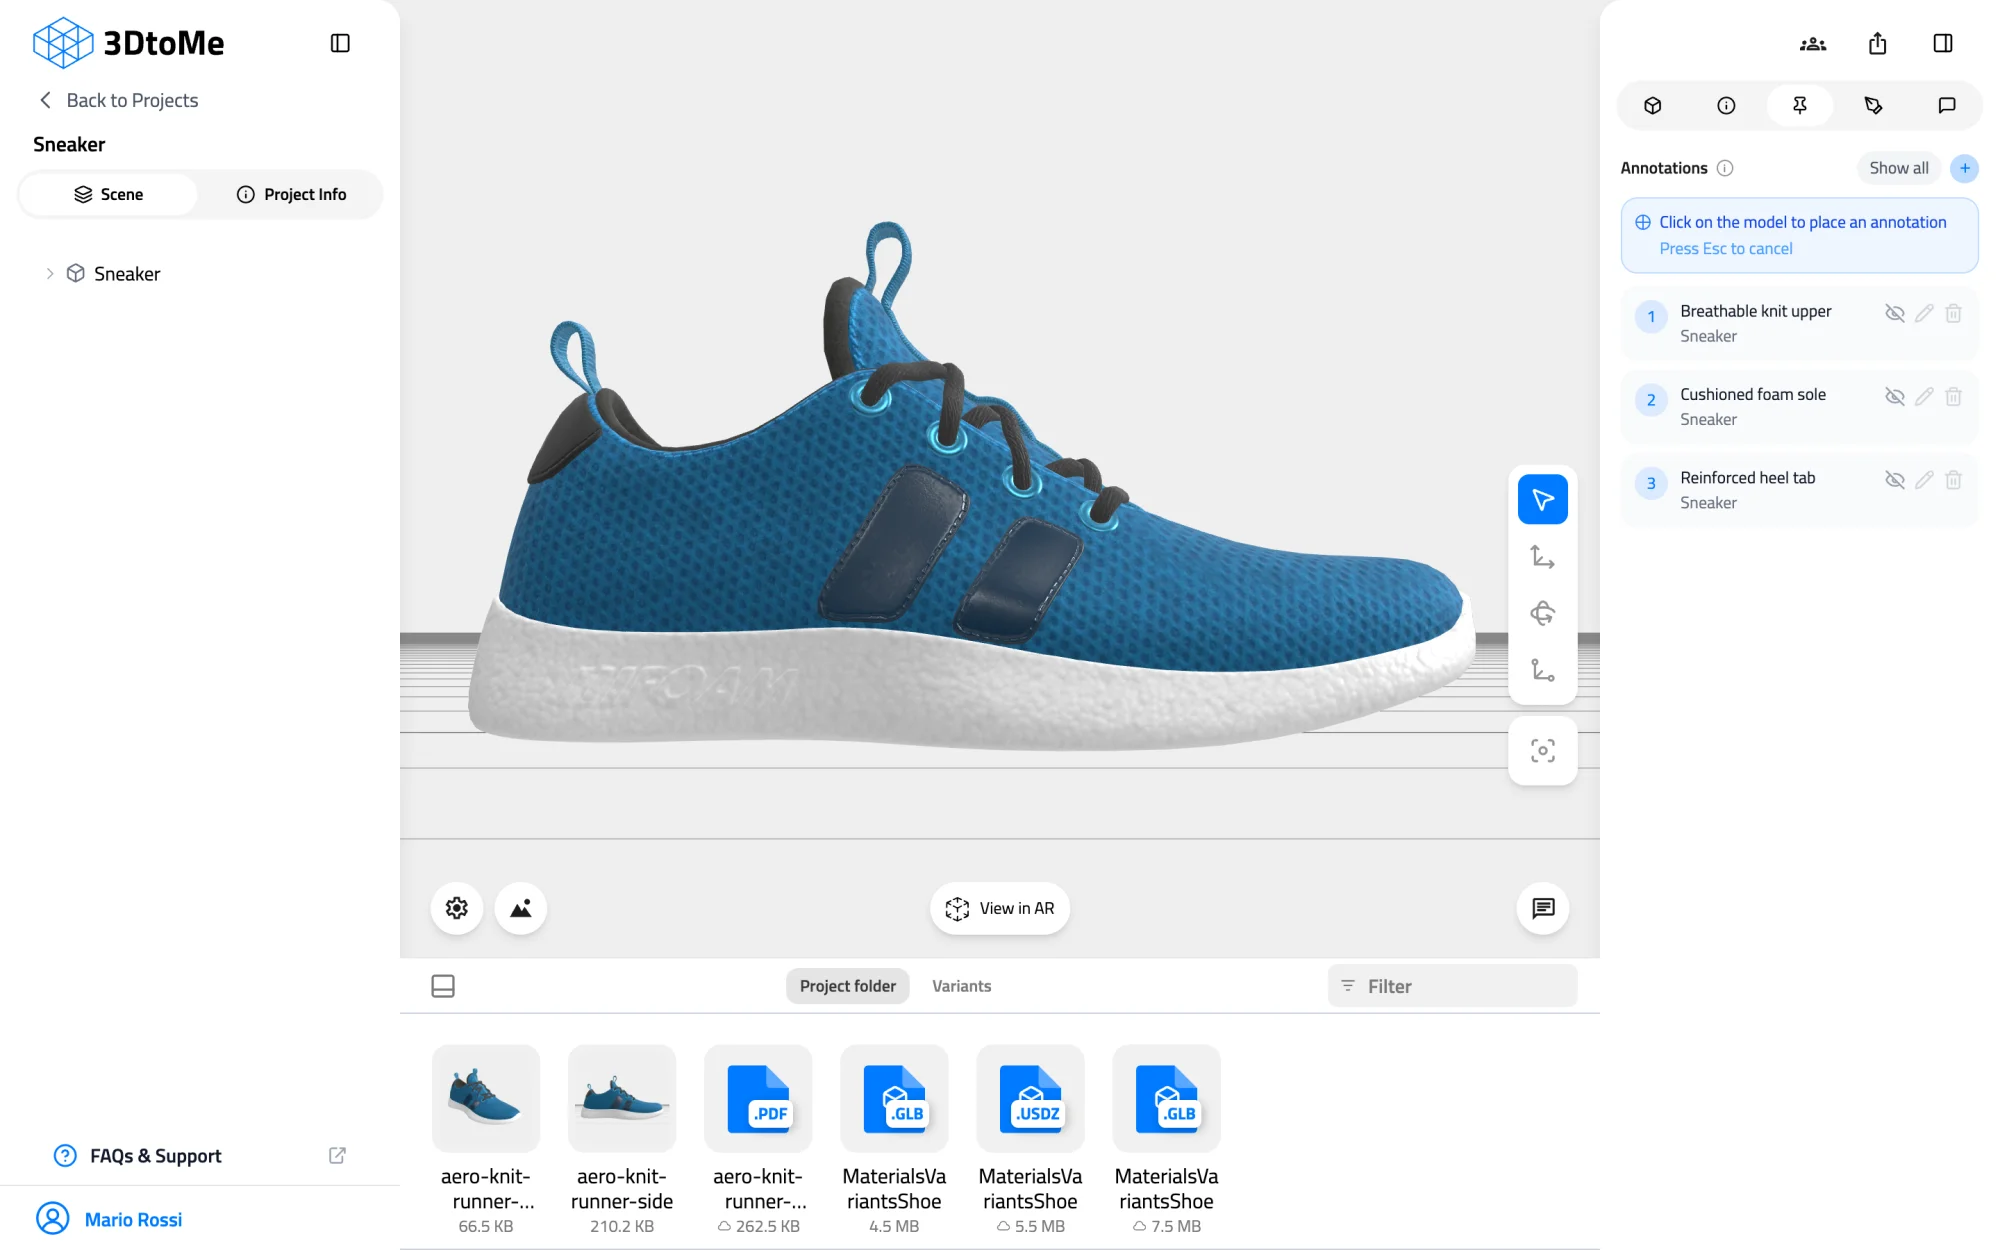
Model: MaterialsVariantsShoe by Shopify, CC BY 4.0
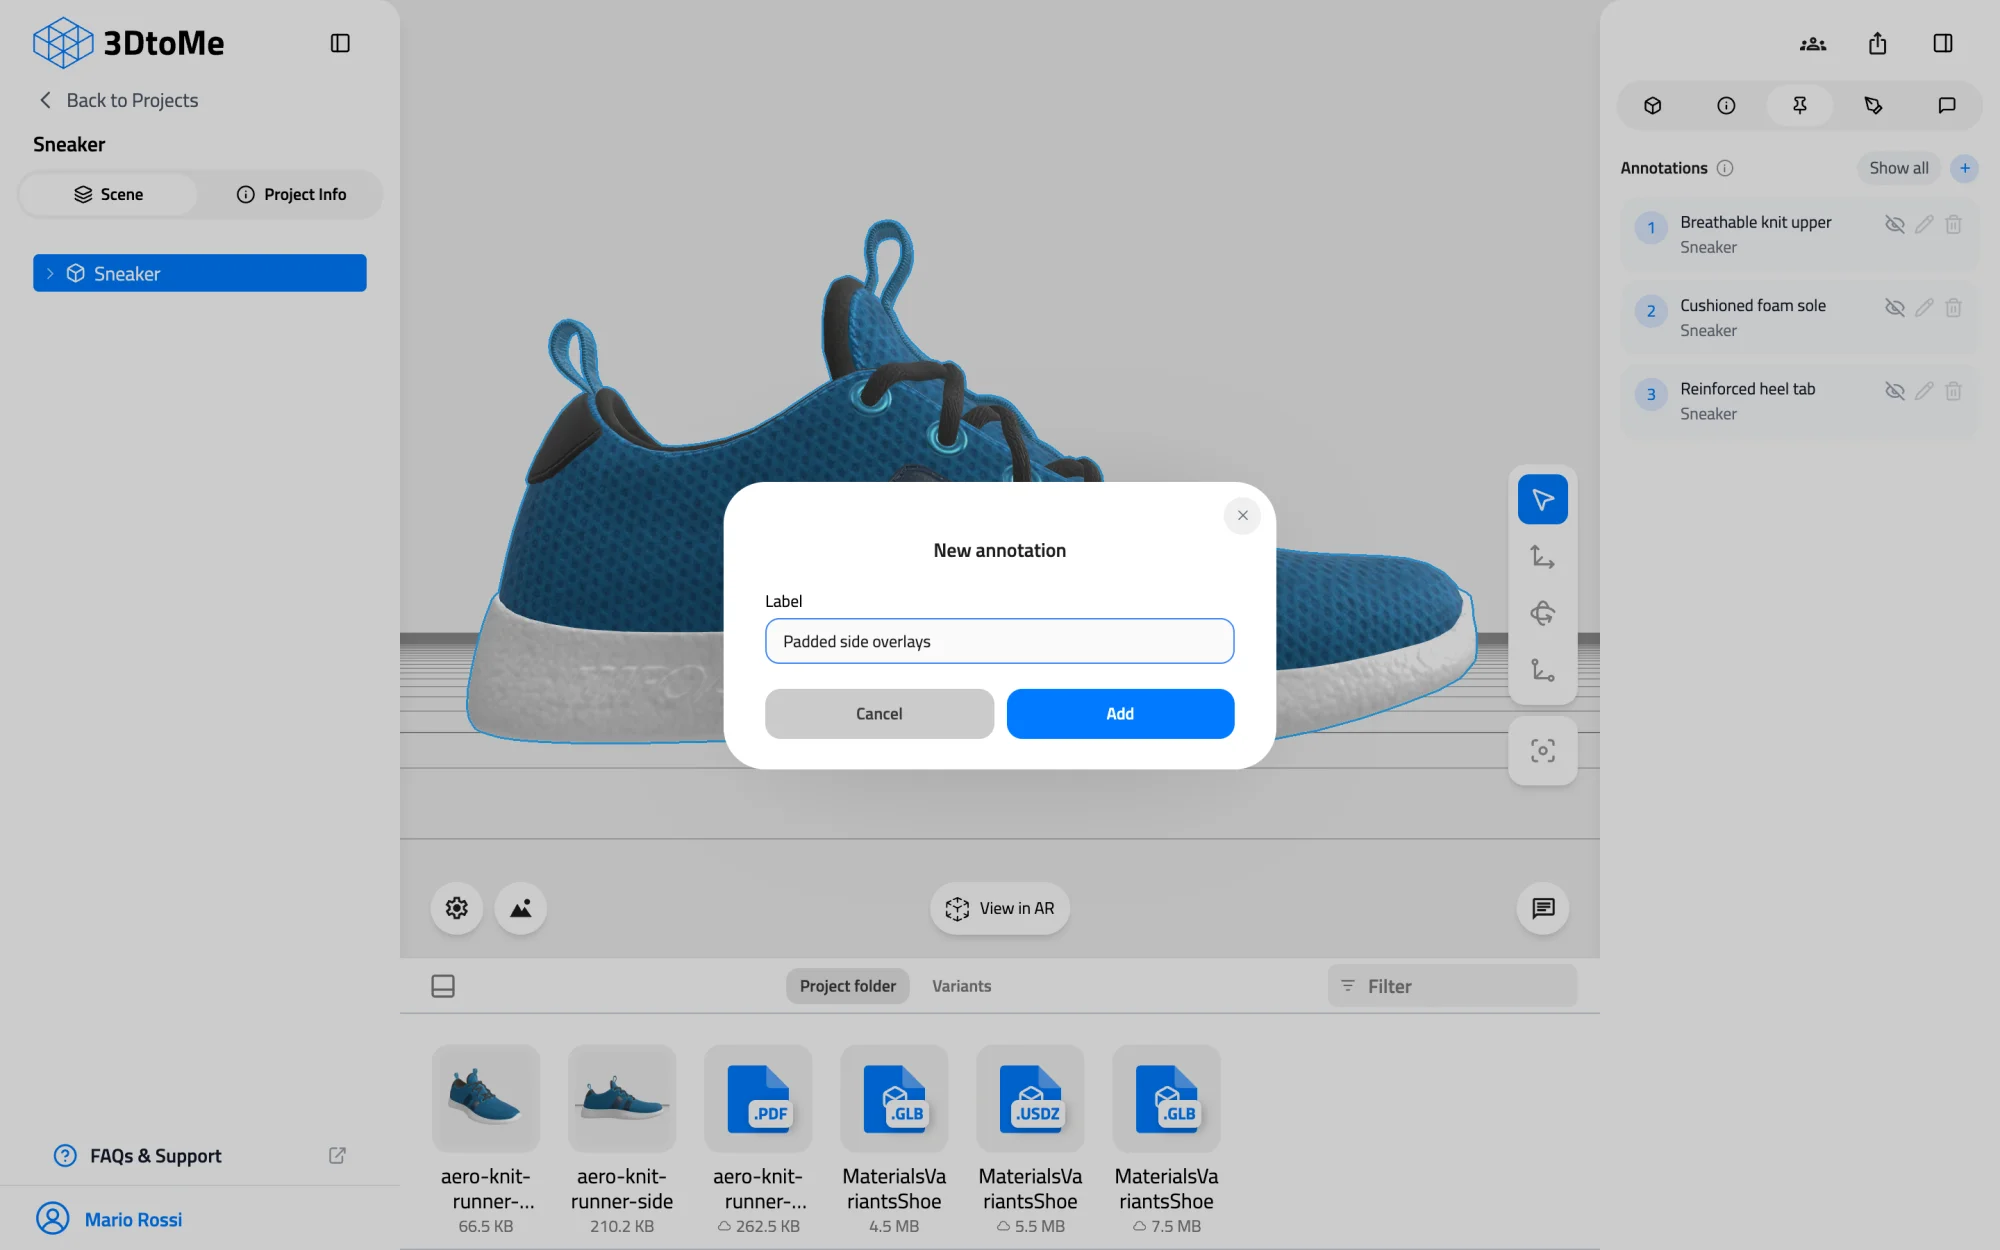
Model: MaterialsVariantsShoe by Shopify, CC BY 4.0
Press Esc at any point to cancel, or click + again. If you leave the label empty, the viewer names the annotation "Annotation". The new pin appears on the model.
Show, rename and delete
The Annotations tab lists every annotation in the project. Each row shows a number, the label, the model it belongs to and, for annotations made in the apps, the description.
| Control | What it does |
|---|---|
| Eye icon | Shows or hides that pin on the model. Hiding a pin doesn't delete the annotation. |
| Show all / Hide all | Shows or hides every pin at once. |
| Pencil icon | Opens Rename annotation. Type the new label and click Save. |
| Bin icon | Opens Delete annotation. Click Delete to remove it. You can't undo this. |
Click a pin to make the camera turn around that spot. Shared links open with every annotation showing, unless you turn off Show Annotation in the Share window.
Visitors who are not signed in can show and hide annotations. The pencil icon, the bin icon and the + button appear only when you are signed in.
Good to know
- Saving a new annotation needs a Pro plan or higher. On the Free plan, clicking + on your own project opens the upgrade window. Renaming and deleting work on any plan. See Features by plan.
- During a collaborative call, only the host controls annotations.
- On a project the 3DtoMe team has locked, a Project locked dialog tells you the web viewer didn't save your change.
Next Steps
Still have questions?
If you still have questions, please reach out to our support team for assistance.
Contact Support