
Best Practices for Photogrammetry
Learn the best practices to create 3D models of real objects using photogrammetry in 3DtoMe.
Overview
Best practices to create 3D models of real objects using photogrammetry are methods, tips and tricks that help you to create better 3D models. You can use these methods to improve the quality of the 3D models and to avoid common issues like holes, missing parts, flat surfaces without details and other issues.
How to take photos of the object
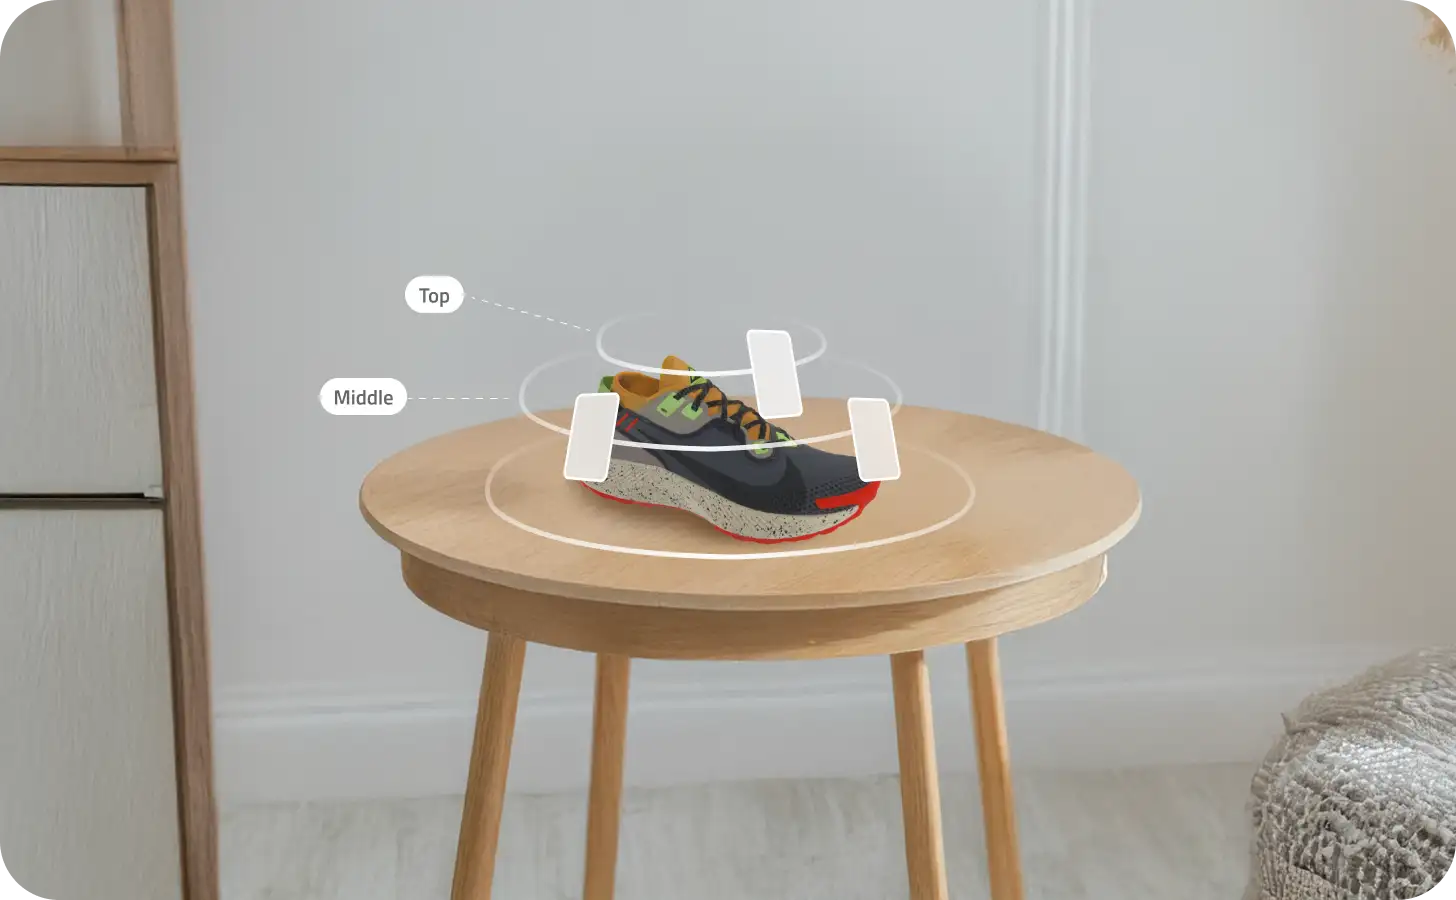
Photos from every angle
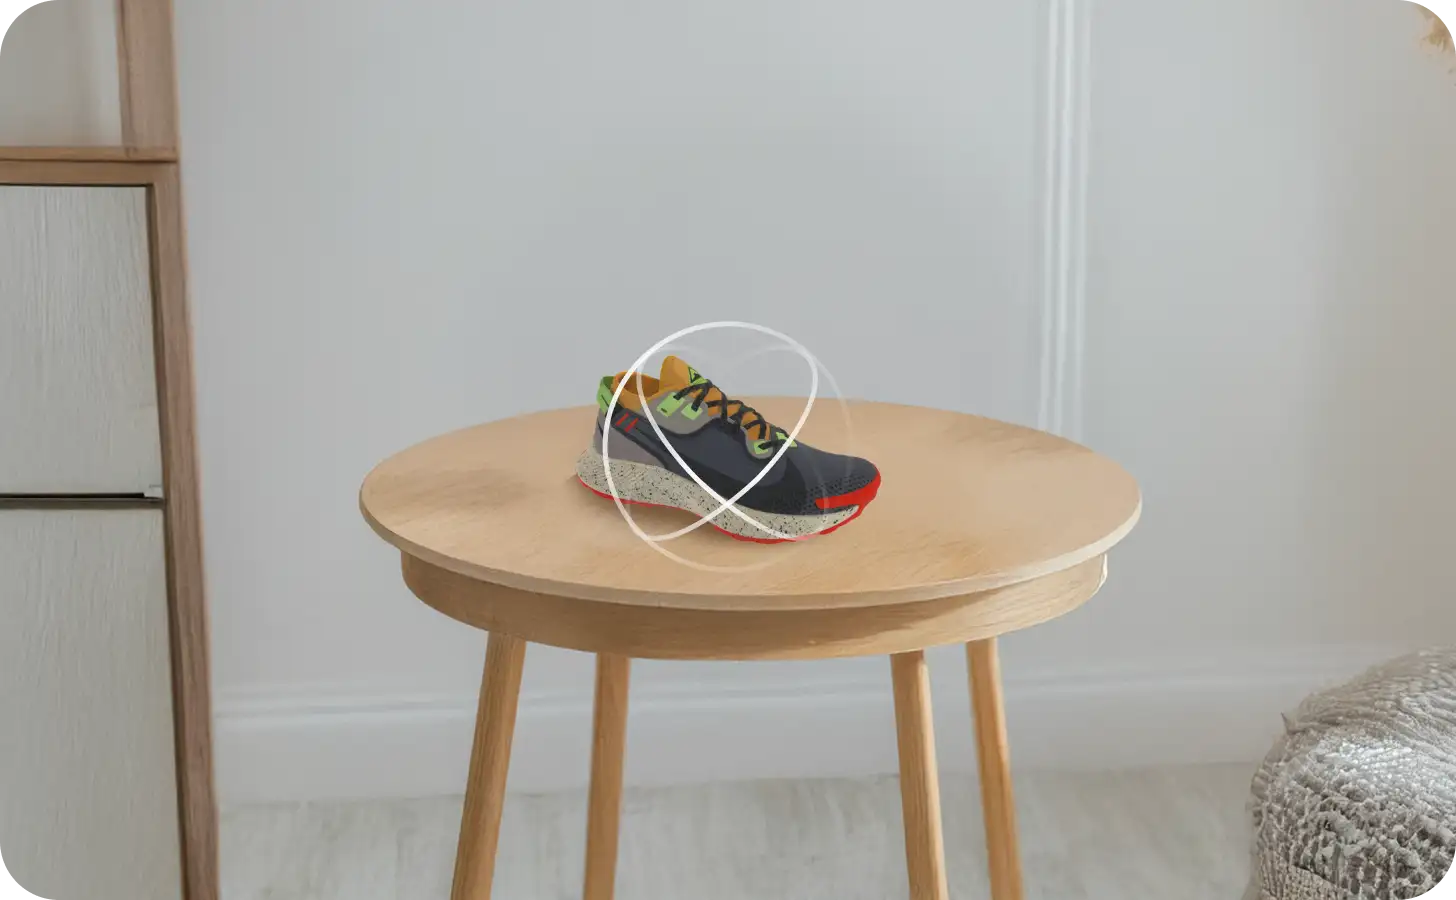
Rotate the object
To create a 3D model of an object using photogrammetry, you have to take photos of the object from all sides. The app will use these photos to create the 3D model of the object.
If you are using the iOS app, a step-by-step guide will help you to take the photos of the object. The app will ask you to rotate around the object and take photos from different angles. Every time you take a photo, the app will show you a preview of the captured point cloud and, if you rotate around the object, the point cloud will be rotated too.
Don't move the object while you are taking photos. It should be still on a flat surface. If the object is too big, you can move around it to take photos from all sides.
Move slowly around the object to avoid blurry photos.
After you have taken the photos, the app will ask you to take more photos if needed and only at that point you can rotate the object.
Keep the camera horizontally aligned and at the same height for every series of photos.
How to take photos with a professional camera
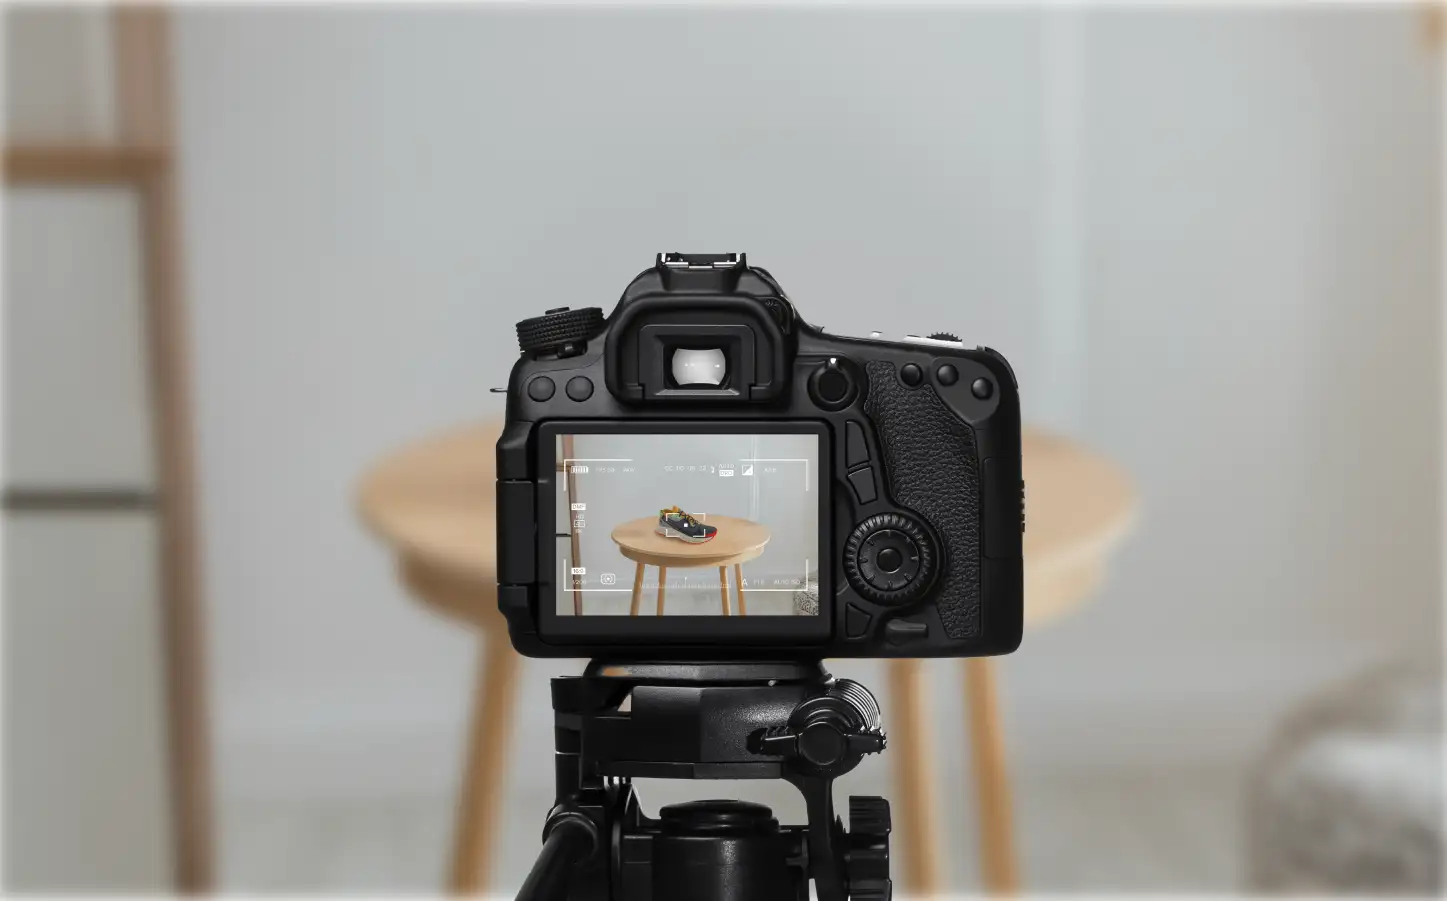
Professional camera
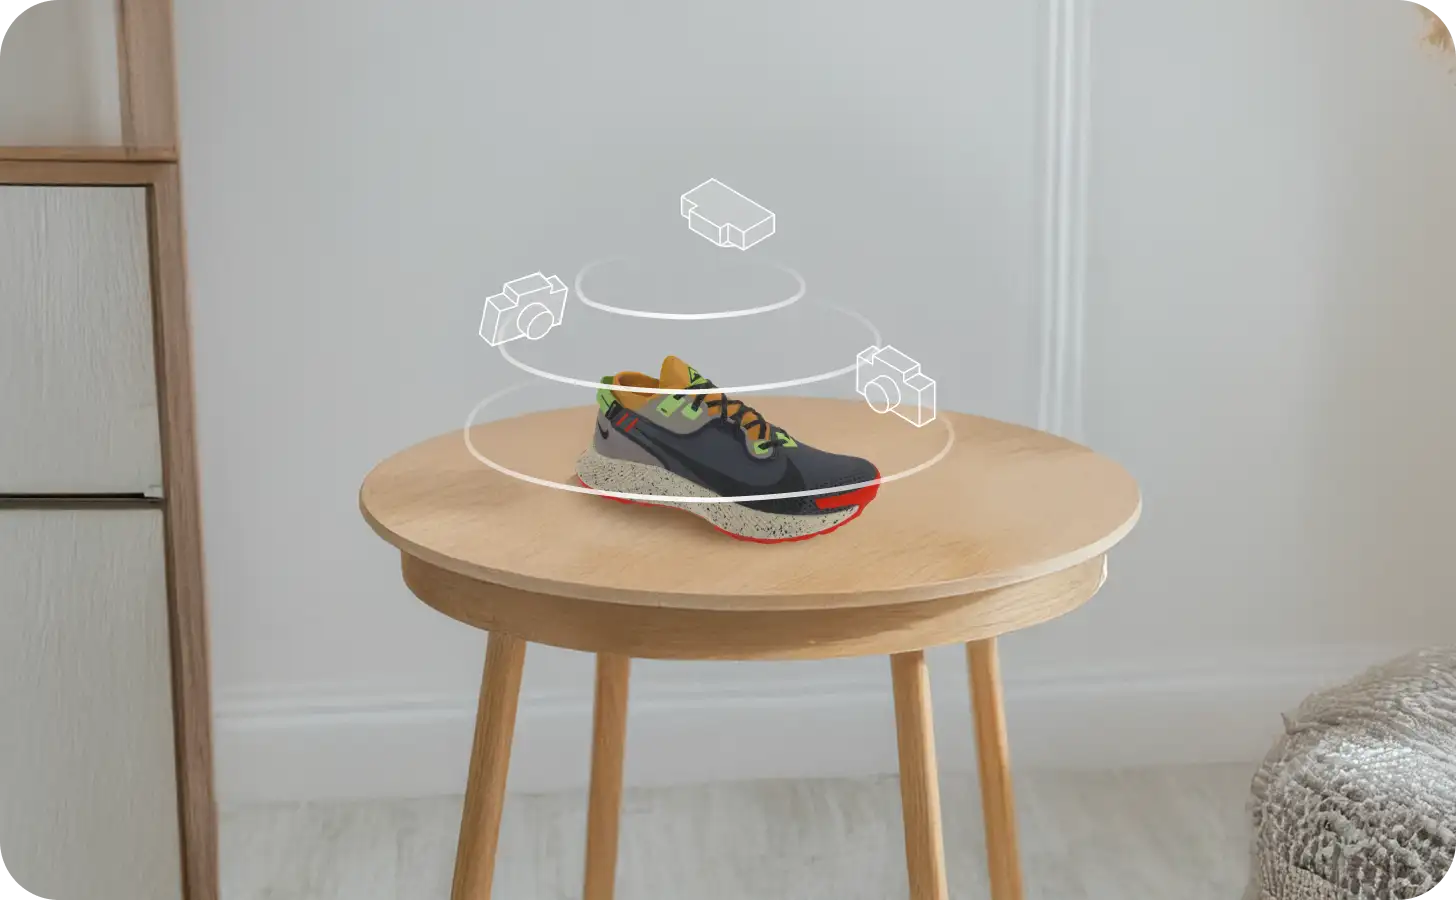
Photos from every angle
You can take photos of the object using any device, such as a professional camera, outside the 3DtoMe mobile app. Ensure you capture the object from all sides to create a comprehensive 3D model.
After capturing the photos, you can import them into 3DtoMe for macOS, which is more powerful than the iOS app for creating photogrammetry objects.
Photos taken with a professional camera or any other device do not allow 3DtoMe to determine the original scale of the object. Once you have created the object, you will need to scale it within 3DtoMe for macOS to its original dimensions if they are important.
Don't move the object while you are taking photos. If you have a rotating stand, you can use it to rotate the object, instead you can rotate the object only when you want to take photos of the lower part of the object.
If possible, avoid to alter the object's color with the light source. The object should be in a well-lit environment to capture all the details of the object in a natural and uniform way.
Move slowly around the object to avoid blurry photos. Keep the camera horizontally aligned and at the same height for every series of photos.
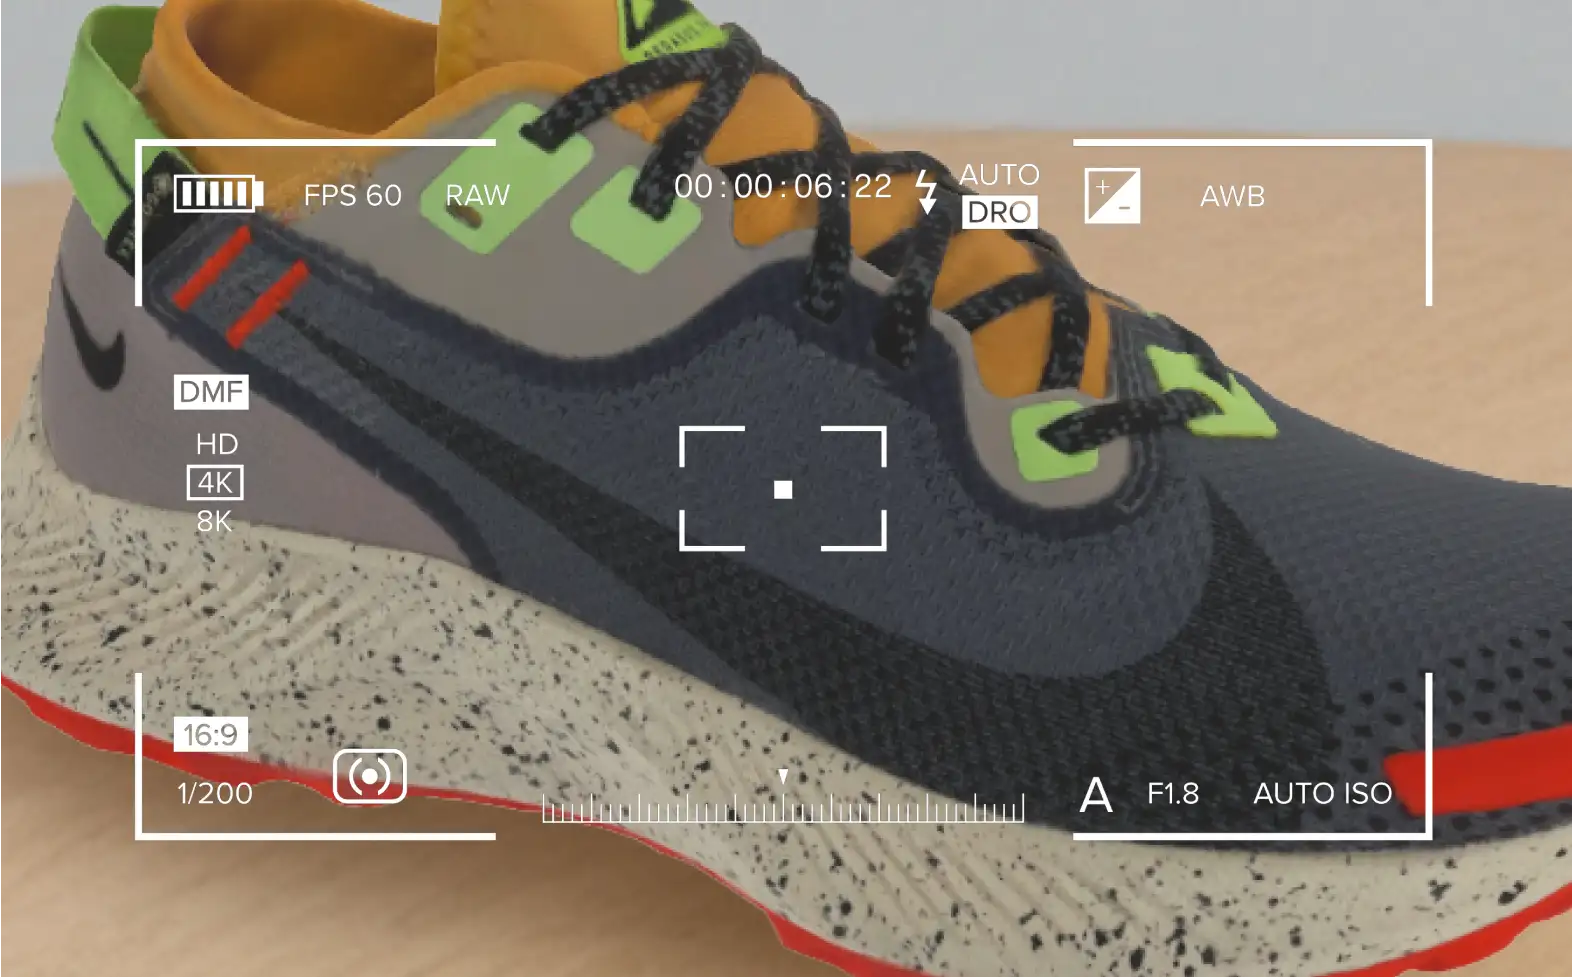
Take photos of the details
Try to take photos of the details of the object, such as corners, edges, or patterns, to create a 3D model with more details.
By following these guidelines, you can ensure that the photos you import into 3DtoMe for macOS will result in a high-quality 3D model.
At what distance to take photos of the object
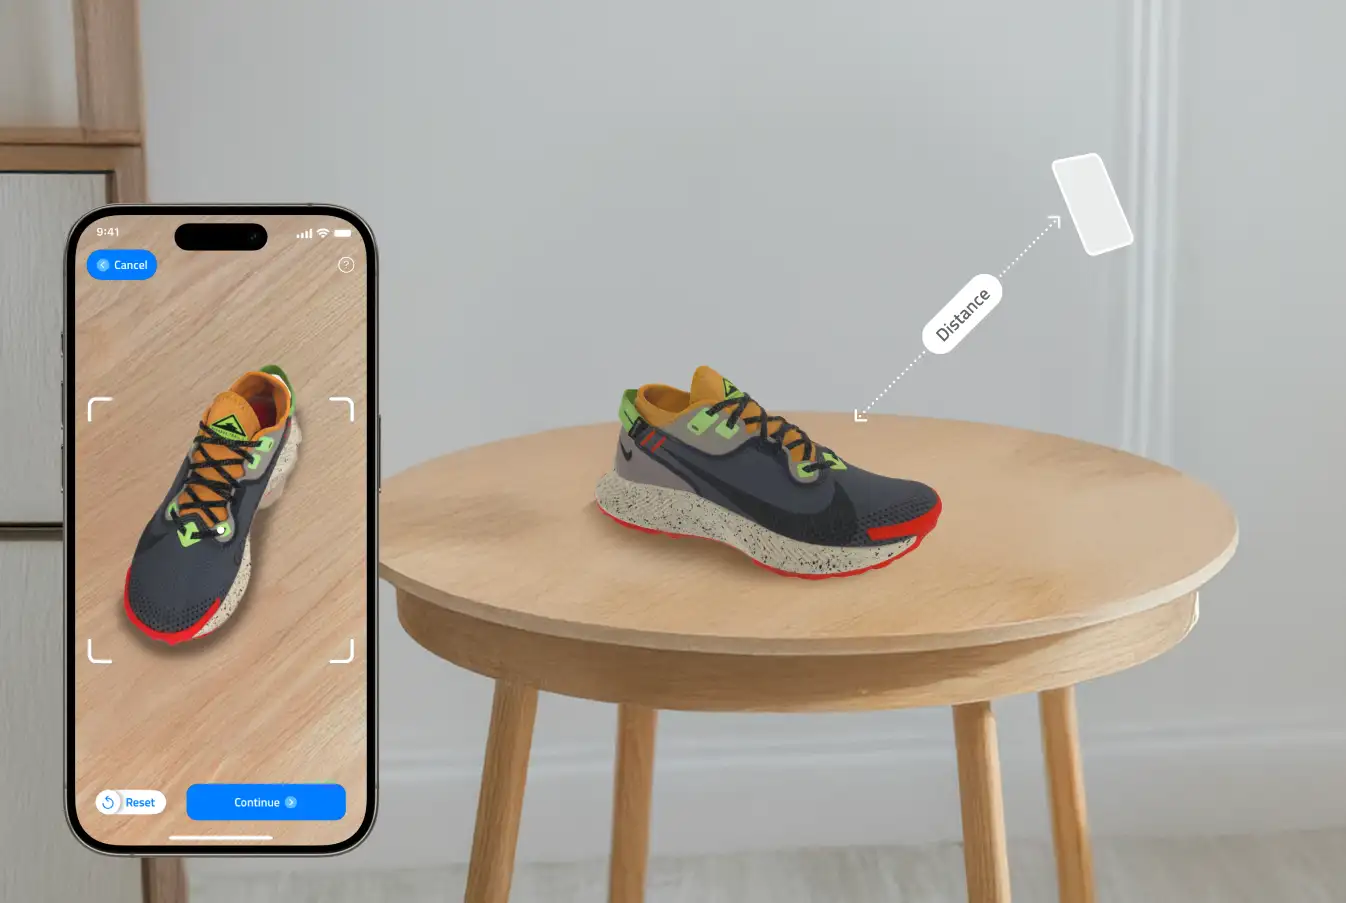
Frame entire object
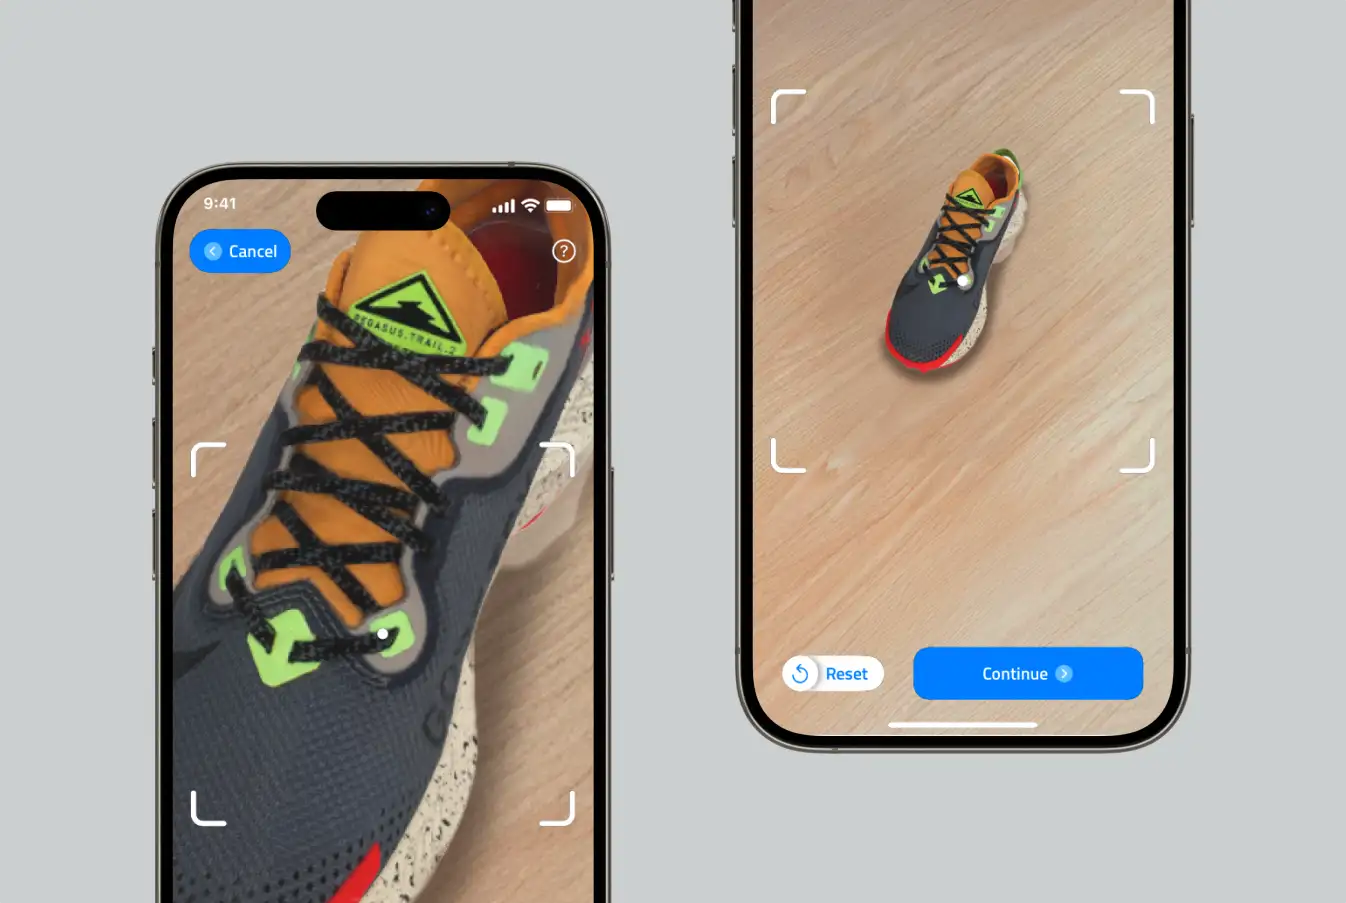
Too far or too close
The distance at which you should take photos of the object depends on the size of the object and the level of detail you want to capture.
The iOS app will guide you through the process of taking photos of the object. The app will tell you to move closer or further from the object to take the photos thanks to the device sensors.
If you are taking photos outside the mobile app, you should take photos of the object at a distance that allows you to capture all the details of the object.
If you are taking photos of a small object, you should take photos of the object at a closer distance. If you are taking photos of a big object, you should take photos of the object at a further distance. In both cases, you should take photos of the object at a distance that allows you to capture the entire object to avoid missing parts.
How many photos to take of the object
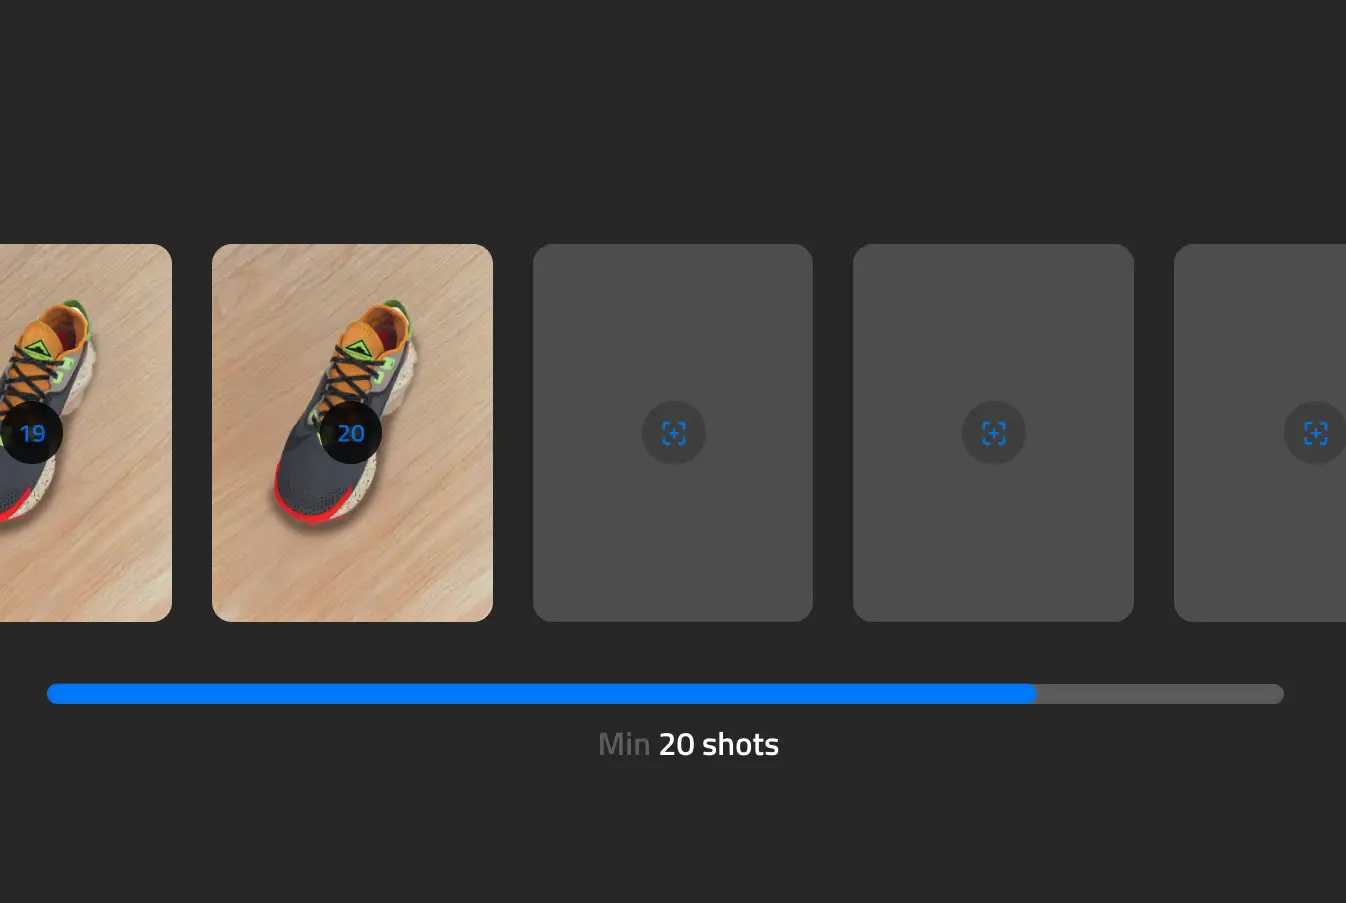
Take at least 20 photos
The iOS app will guide you through the process of taking photos of the object. The app will tell you how many photos you have to take of the object and when you have to take more photos.
If you are taking photos outside the mobile app, you should take at least 20 photos of the object from different angles to create a 3D model of the object.
To obtain a better 3D model, you can take more photos of the object from different angles. The more photos you take, the better the 3D model will be.
Avoid blurry photos
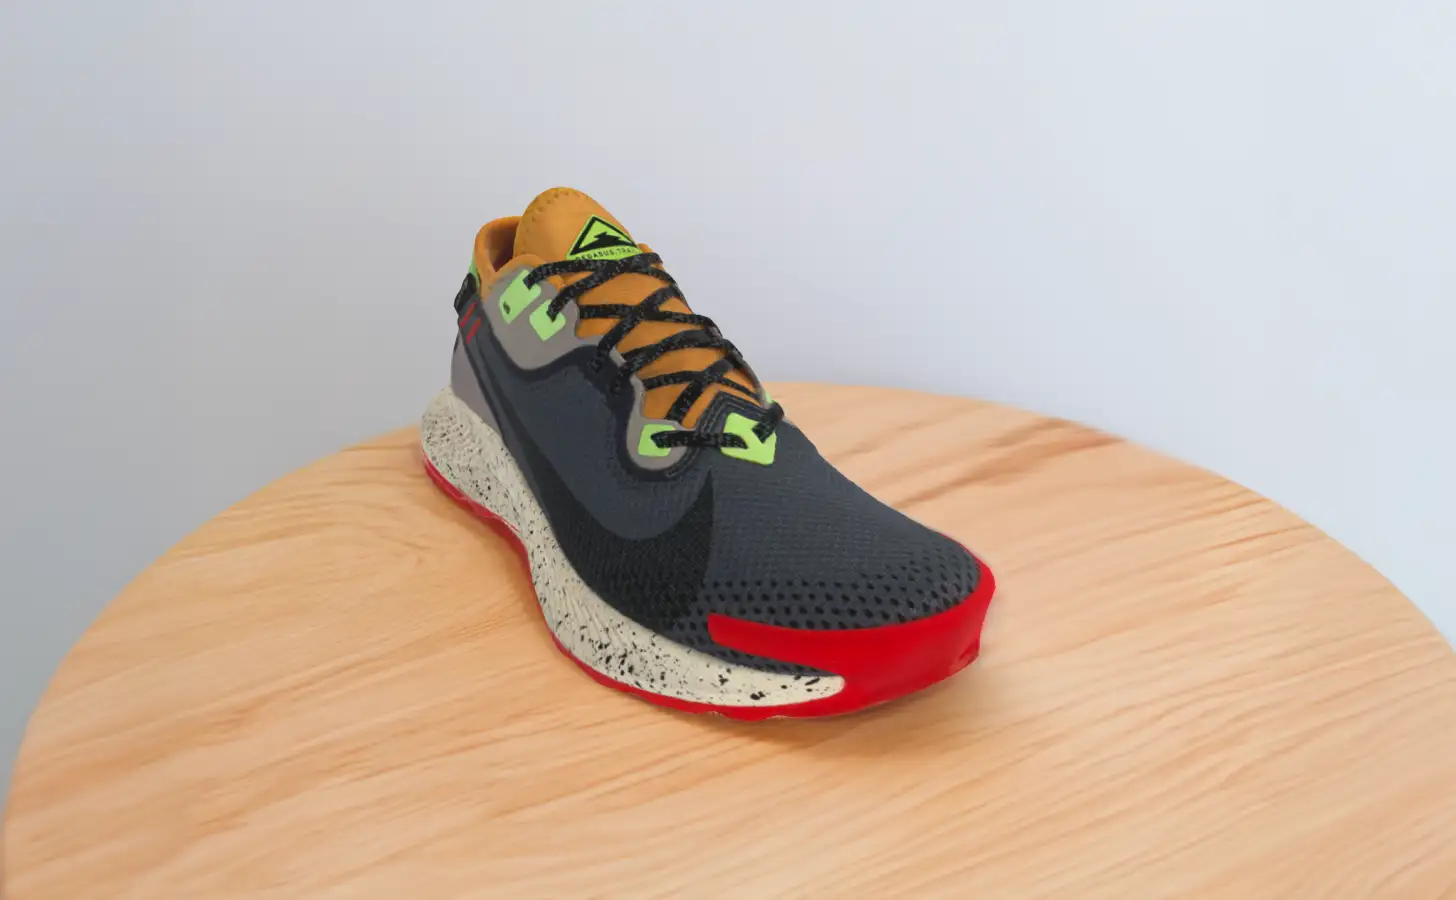
Clear photos
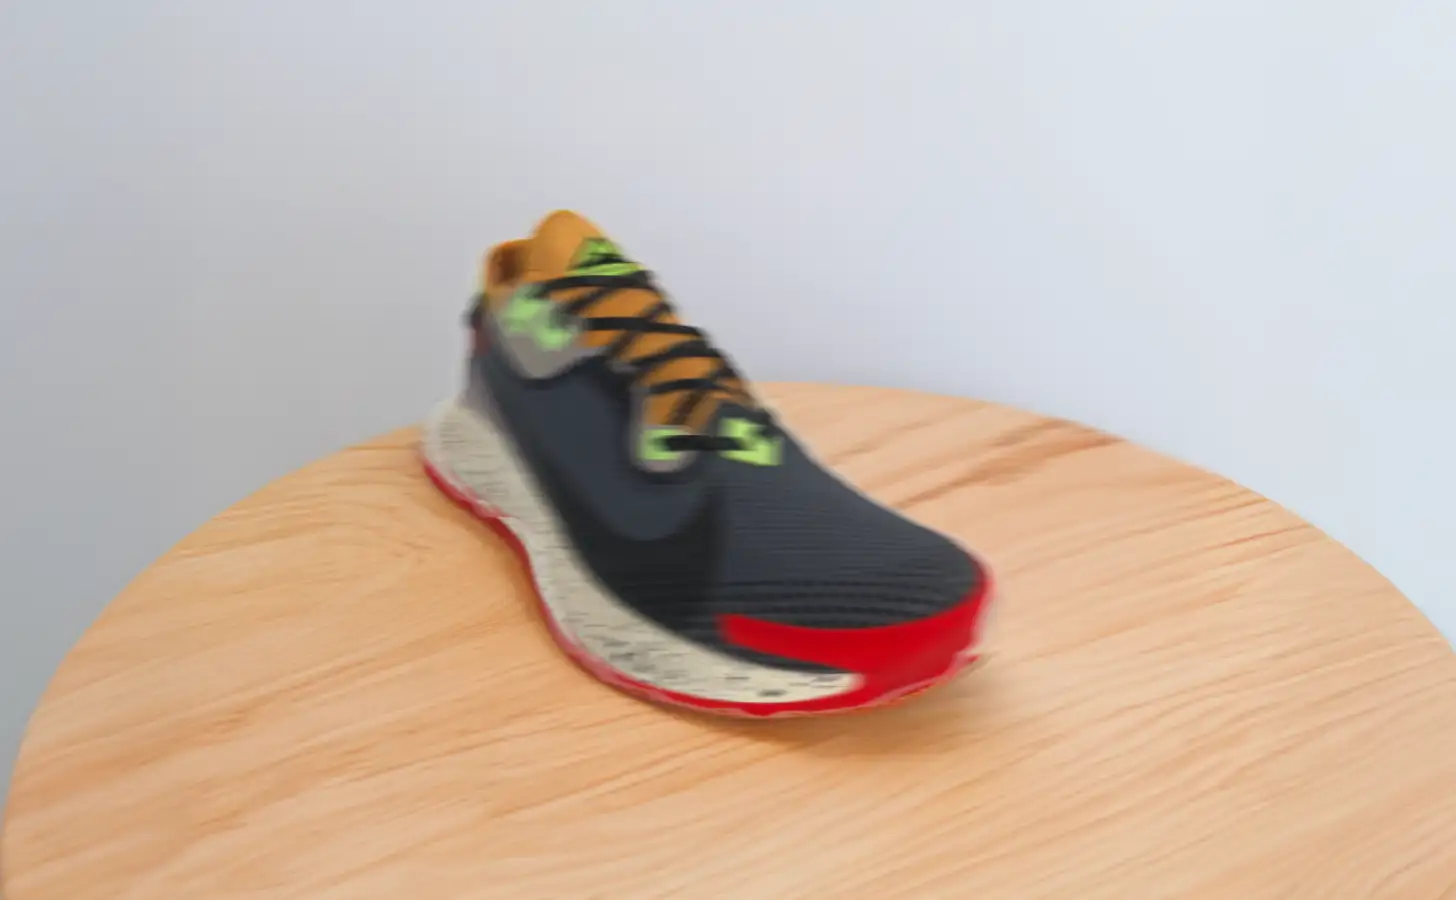
Blurry photos
To avoid blurry photos, you should move slowly around the object while you are taking photos. If you move too fast, the photos will be blurry and the app will not be able to create the 3D model of the object.
Objects that are difficult to scan
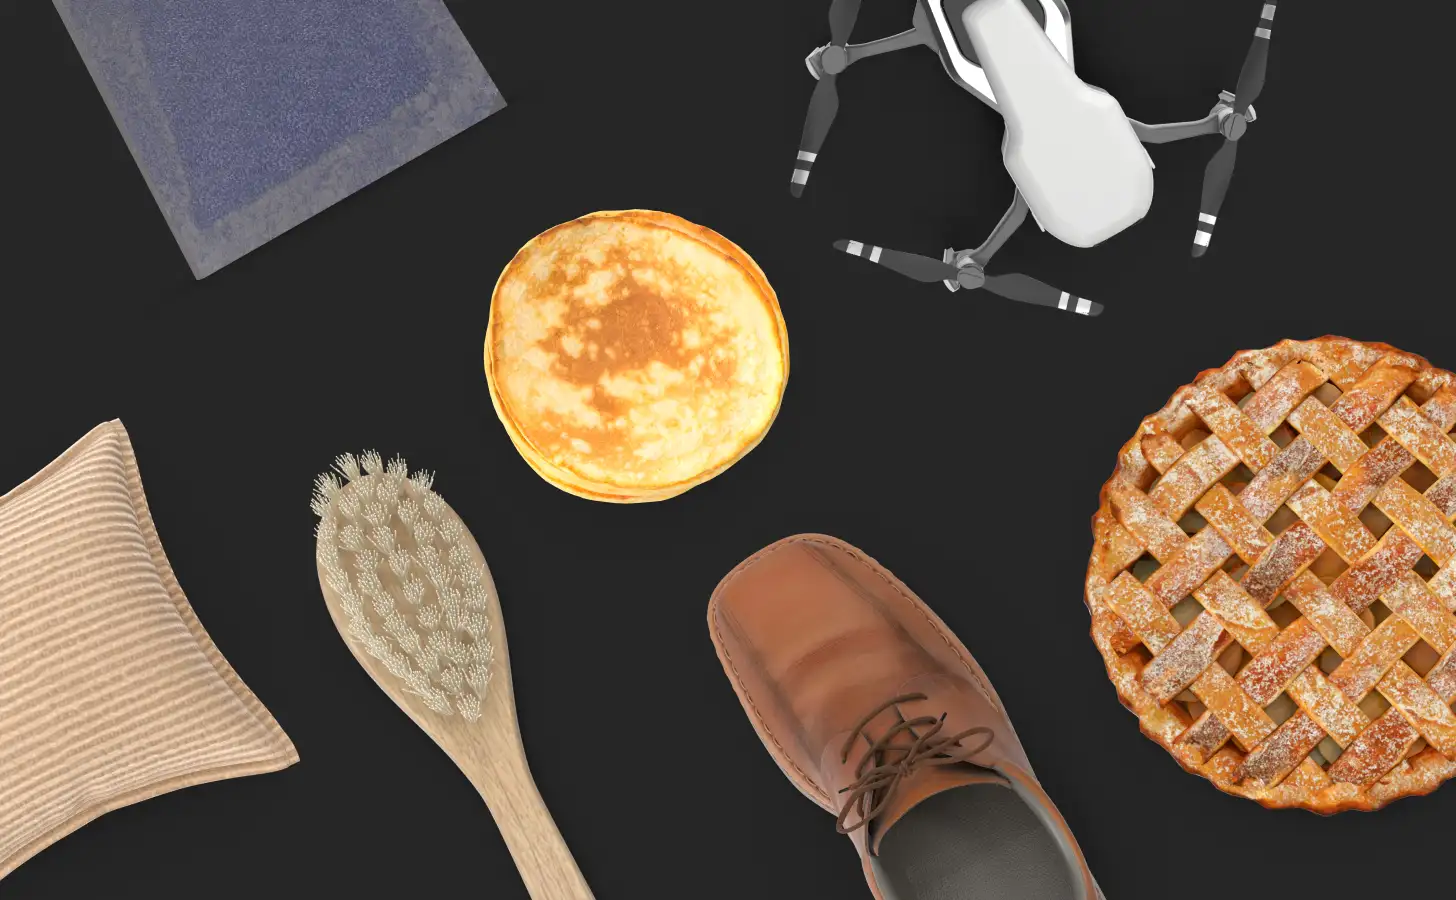
Non reflective and opaque materials
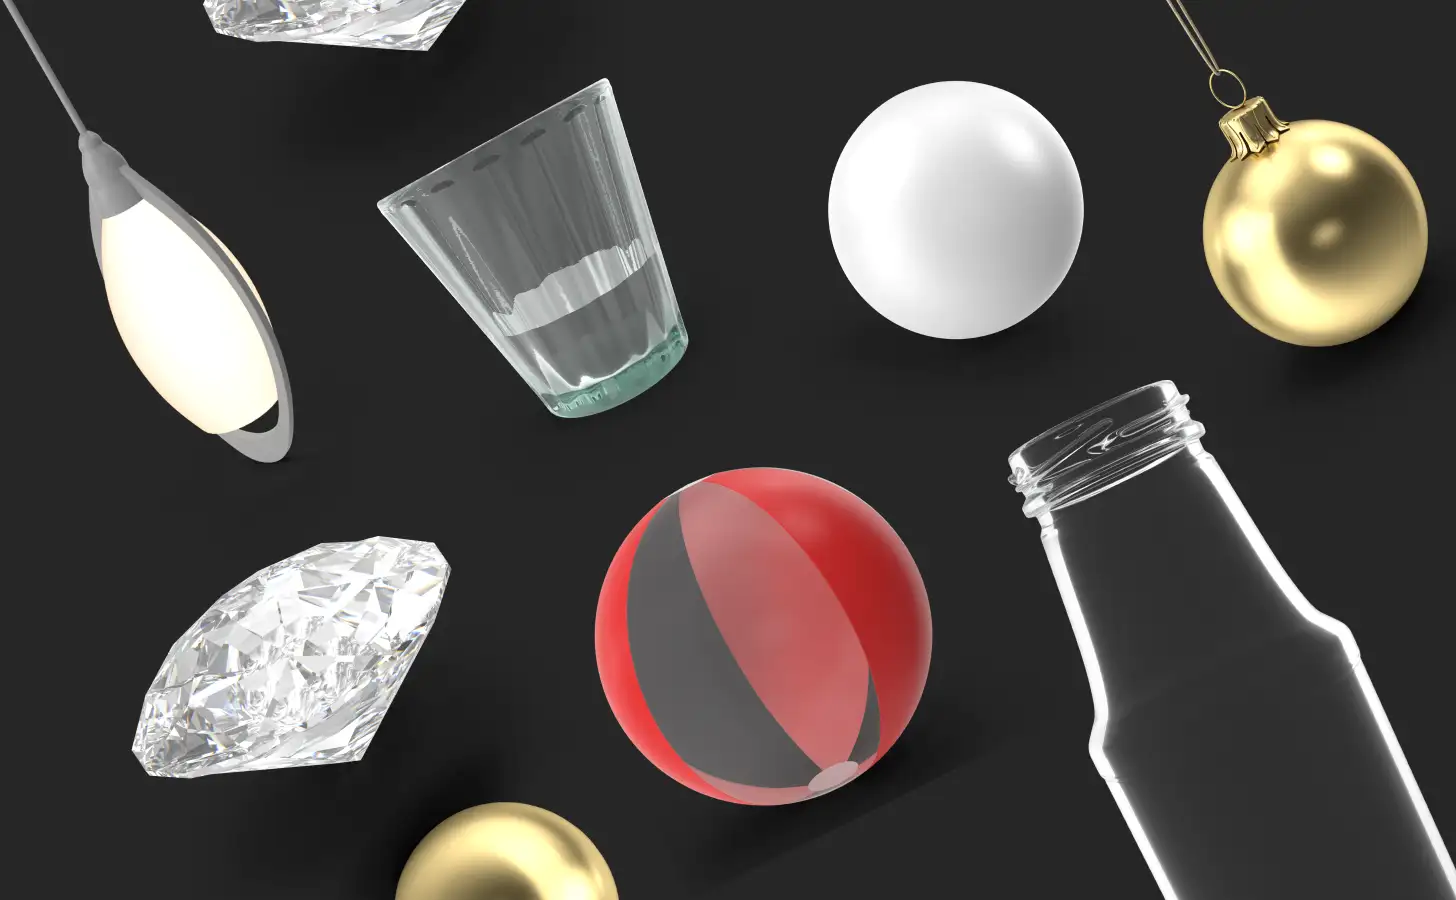
Transparent, metallic, and shiny objects
If you can't obtain a good 3D model of the object, it may be because of the object itself. Some objects are difficult to scan because of their shape, size, material, or color.
Transparent, reflective, and shiny objects are difficult to scan because they reflect the light and the camera can't capture the details of the object. If you want to scan these objects, you can use a mat spray to make the object less reflective and easier to scan.
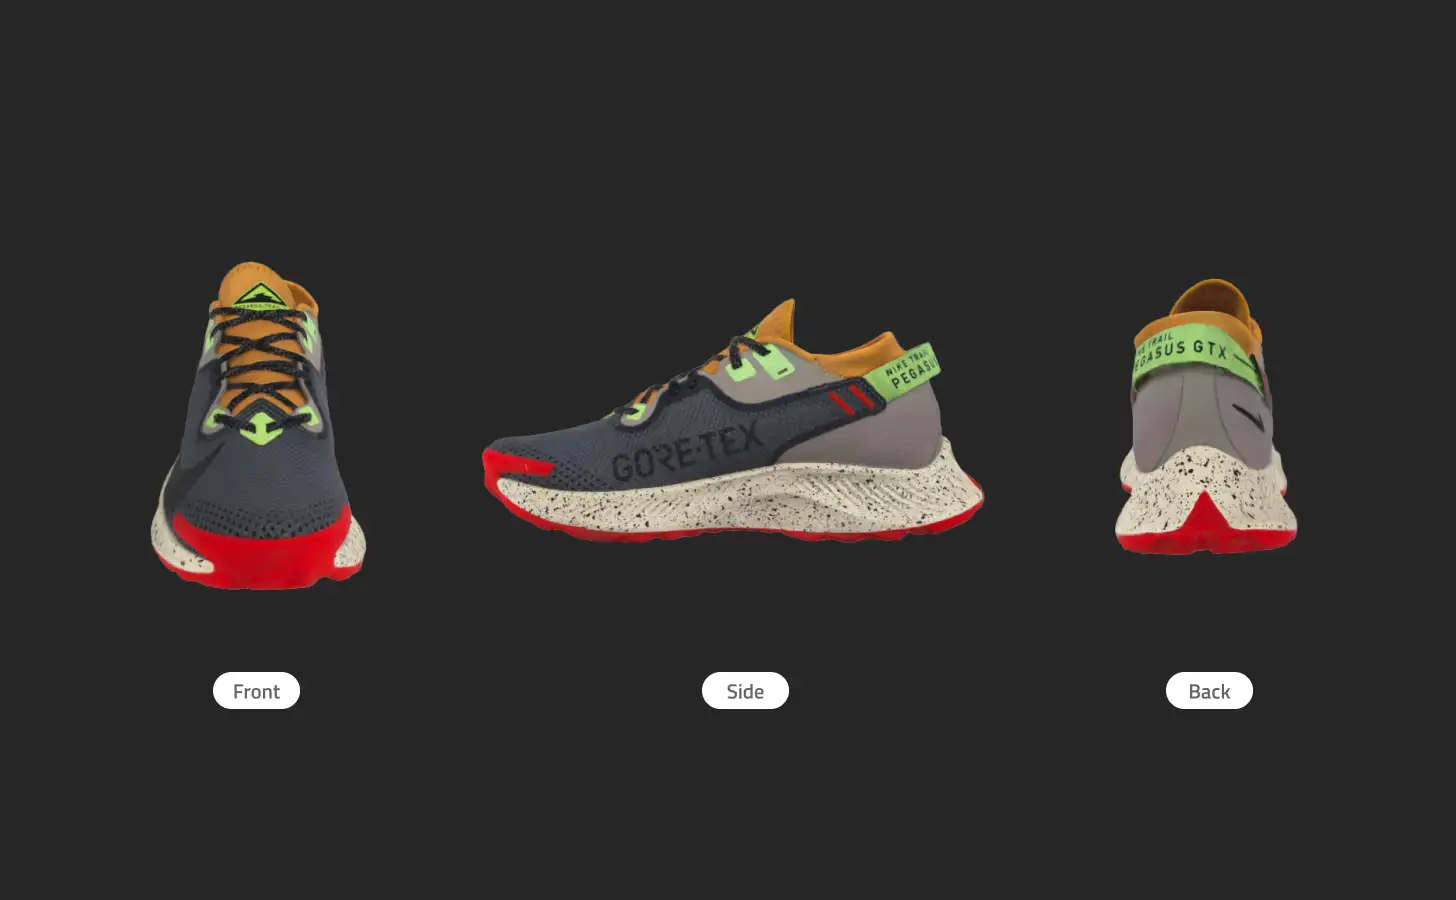
Details, corners, patterns
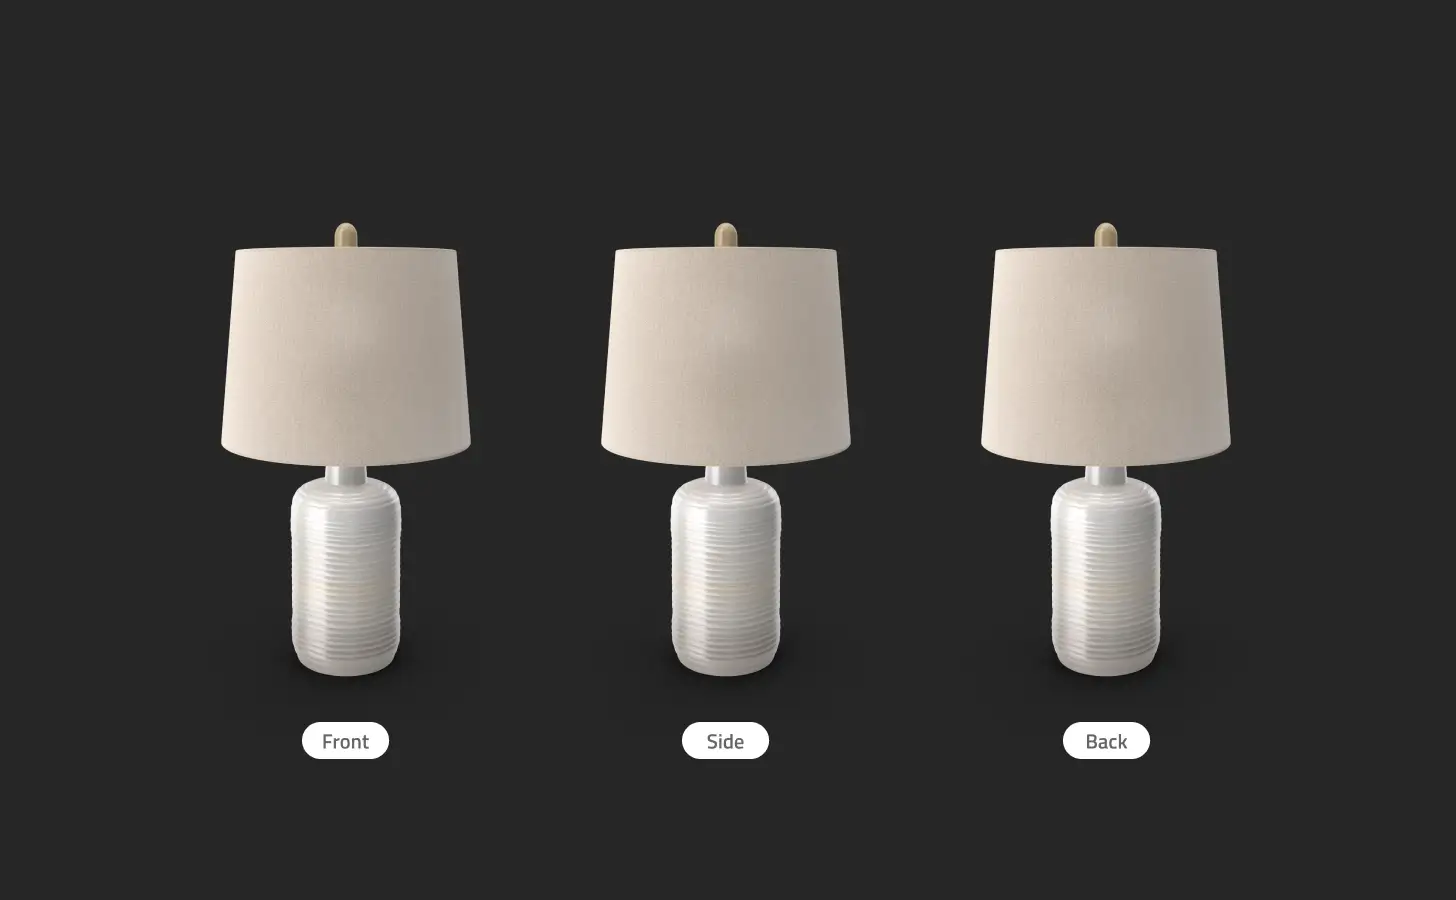
Objects without details and corners
If the object doesn't have enough details, the app will not be able to take reference points. Reference points can be corners, edges, colors, or patterns that the app uses to create the 3D model of the object. If the object doesn't have enough details, the app will not be able to create the 3D model of the object.
Lighting conditions
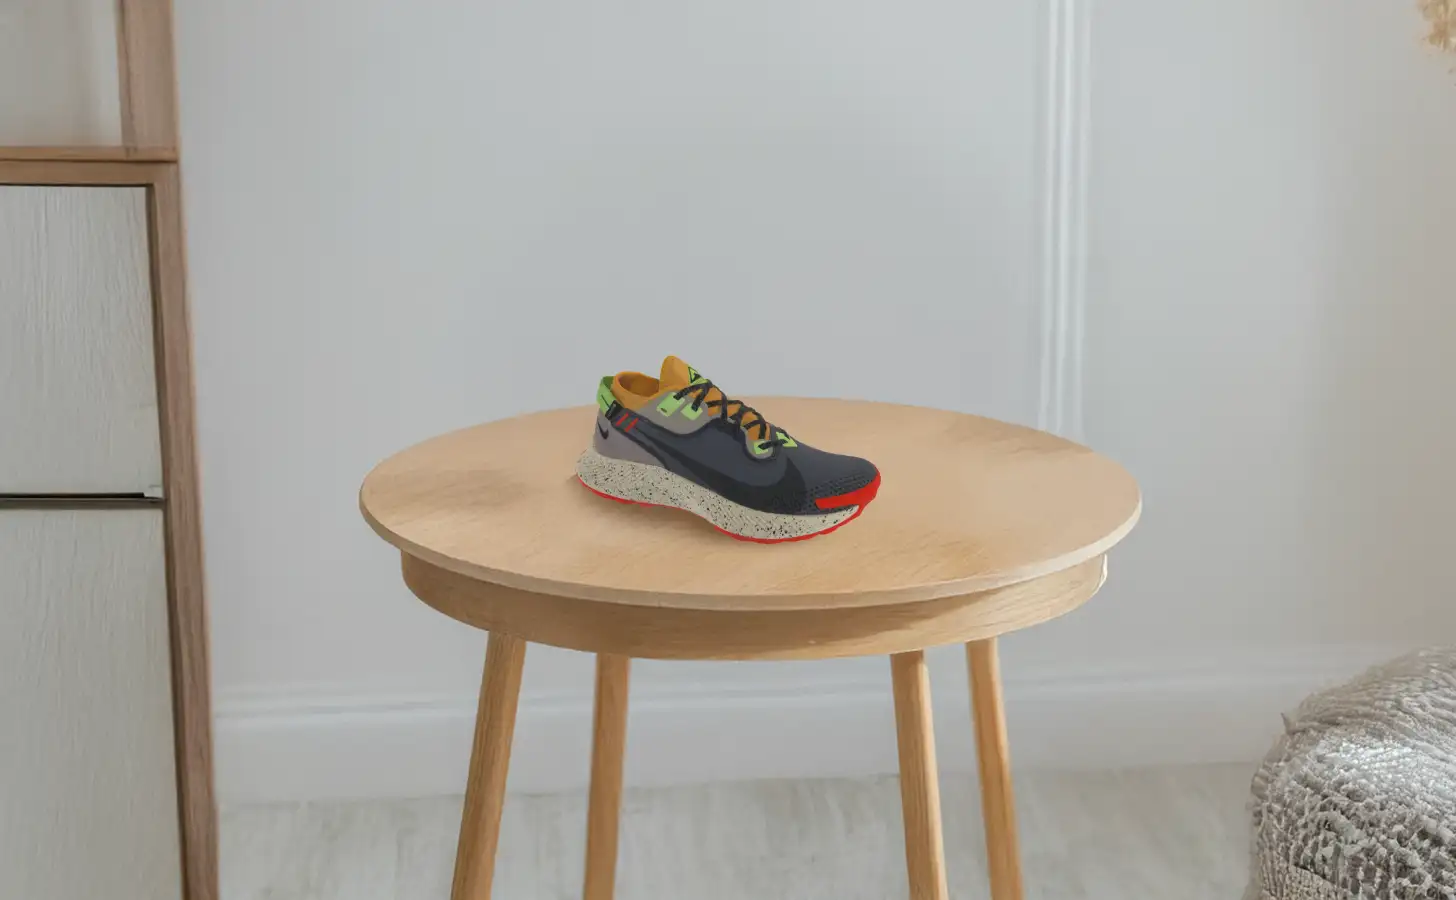
Diffused and uniform lighting
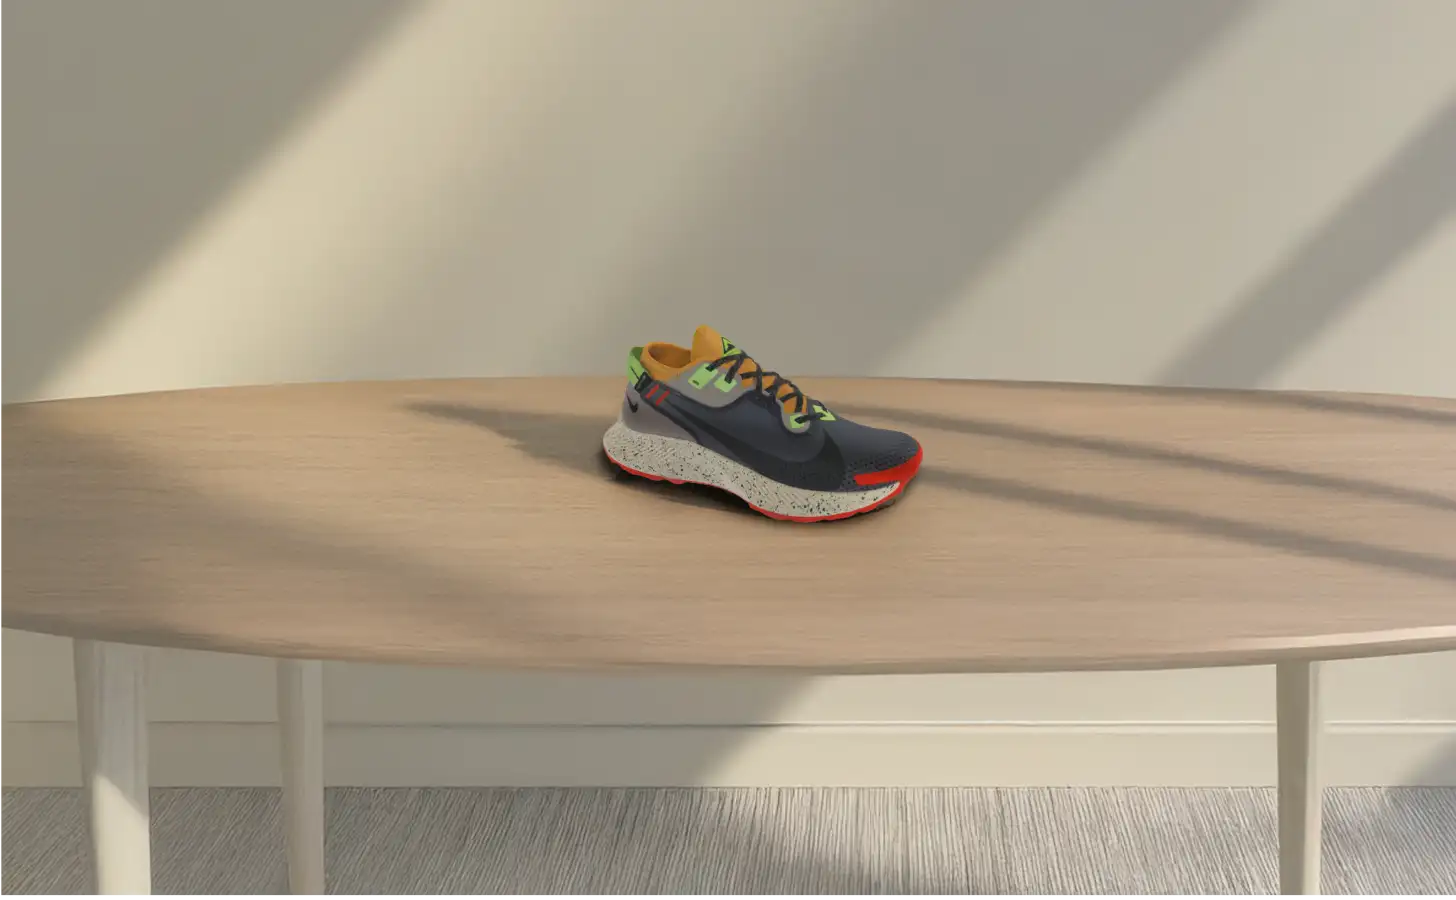
Dark or shadowed environments
The lighting conditions can affect the quality of the 3D model. If the object is in a dark environment, the app will not be able to capture the details of the object.
Be sure to place the object in a well-lit environment to capture all the details of the object. Avoid also shadows from other objects that can affect the quality of the 3D model.
Environment

Clean and well-lit environment
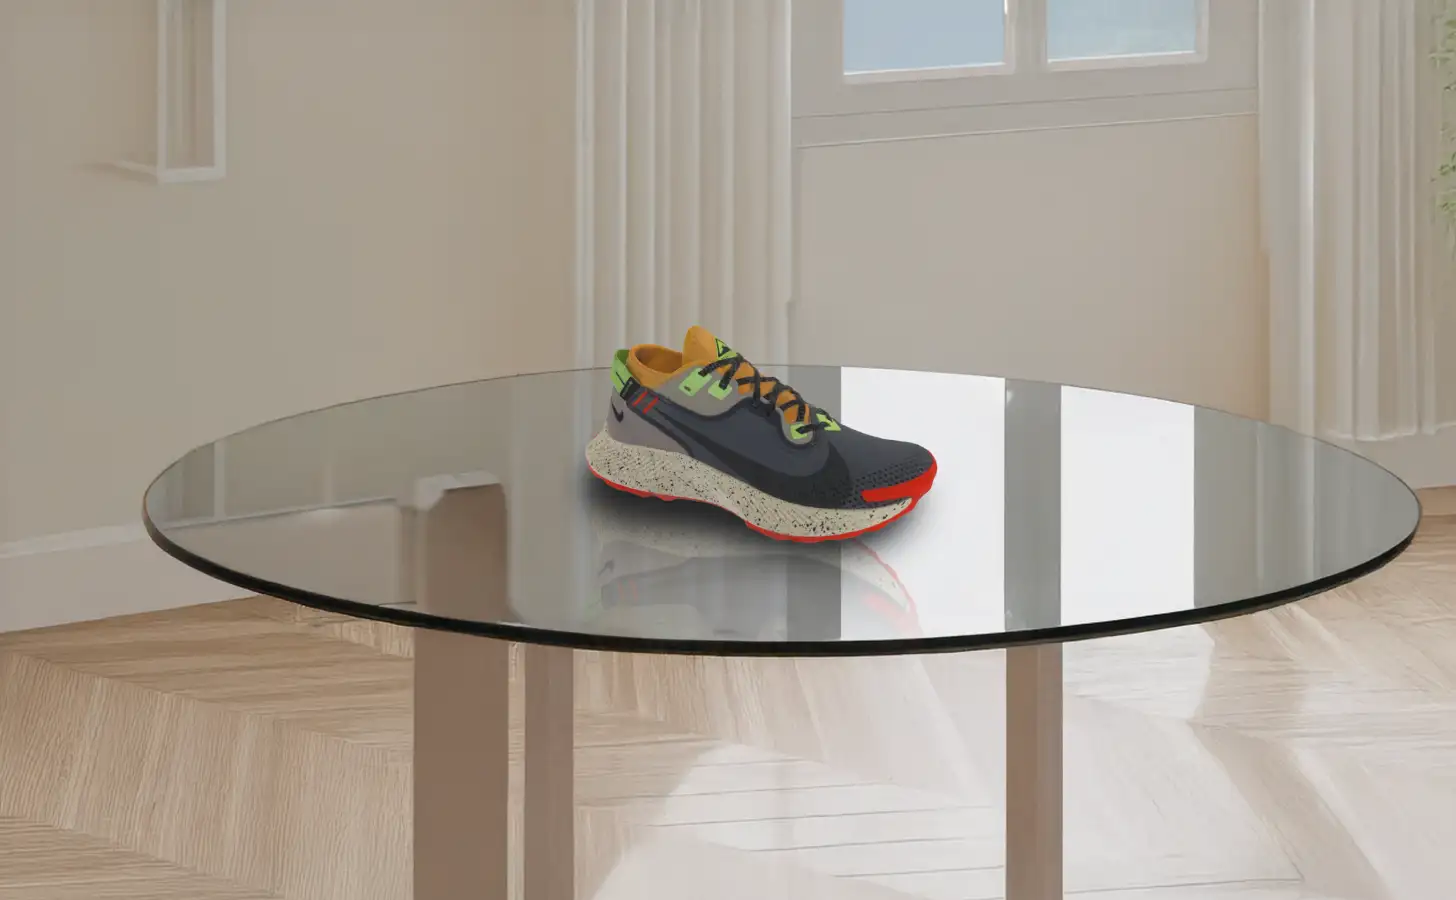
Reflections and cluttered environments
The environment can affect the quality of the 3D model. If the object is in a cluttered environment, the app will not be able to create the 3D model of the object.
For this reason, you should place the object in a clean environment to create the 3D model of the object without issues.
Avoid also objects that can reflect the light and affect the quality of the 3D model like mirrors, glass, and shiny surfaces.
Pro tips

If you are taking photos outside the 3DtoMe mobile app, you can use a rotating stand and your camera or smartphone to take photos of the object. A rotating stand is a platform that rotates the object while you are taking photos of the object.
You should take photos of the object from all sides while the object is rotating and, possibly, every 10 degrees to capture every detail of the object and create and overlap of 10-15% between the photos.
Note: The rotating stand is only suitable for photos intended for 3DtoMe for macOS. The iOS app requires you to move around the object with your phone to capture photos. You can use your preferred camera app on your iPhone to take photos and then import them into 3DtoMe for macOS for better results.
Next Steps
- Discover how to create 3D models of objects and environments on iOS with Area Mode.
- Discover how to create 3D models of objects and environments on iOS with Object Mode.
- Discover how to use photogrammetry on macOS to create 3D models from images.
Still have questions?
If you still have questions, please reach out to our support team for assistance.
Contact Support