macOS Interface
3DtoMe for macOS is a native app that allows you to create, upload, view, share and manage your 3D contents on your Mac.
Overview
The 3DtoMe macOS app provides a seamless experience for creating, uploading, viewing, sharing, and managing your 3D content.
The app is designed to be easy to use and to provide a great experience thanks to its intuitive interface and powerful features.
Welcome popup
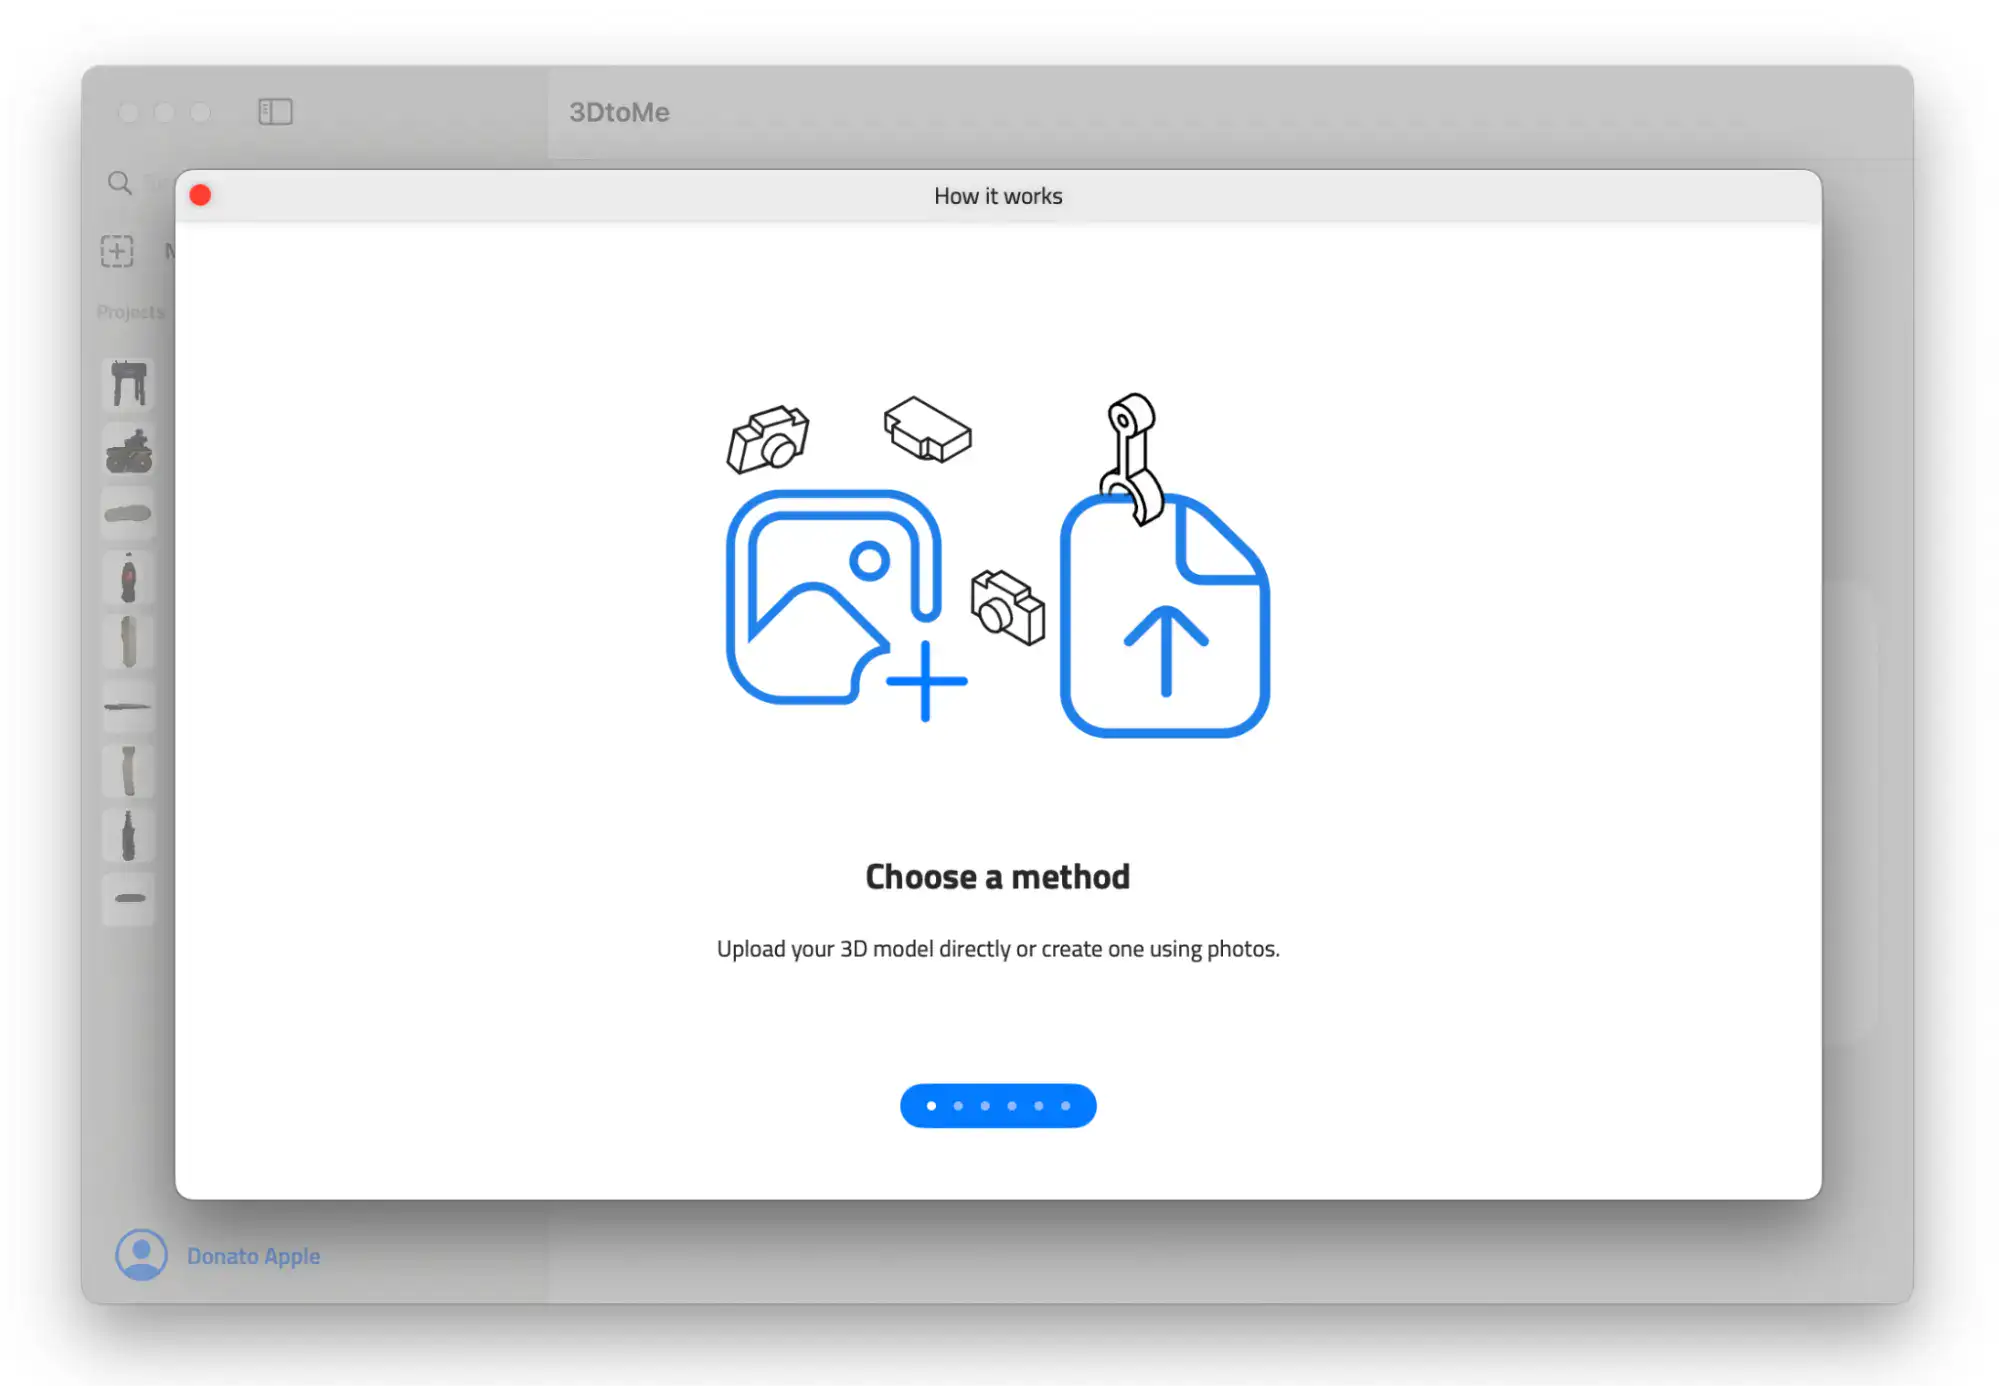
When you open the app, you will see the Welcome popup. This provides you with a brief overview of how to use the app and some of the different features available.
You can swipe left or right to navigate through the different sections of the Welcome popup.
At the bottom of the Welcome popup, you will find the Skip / Start button. To avoid seeing the Welcome popup every time you open the app, you can tap on the Don't show again checkbox before tapping on the Skip button.

Projects
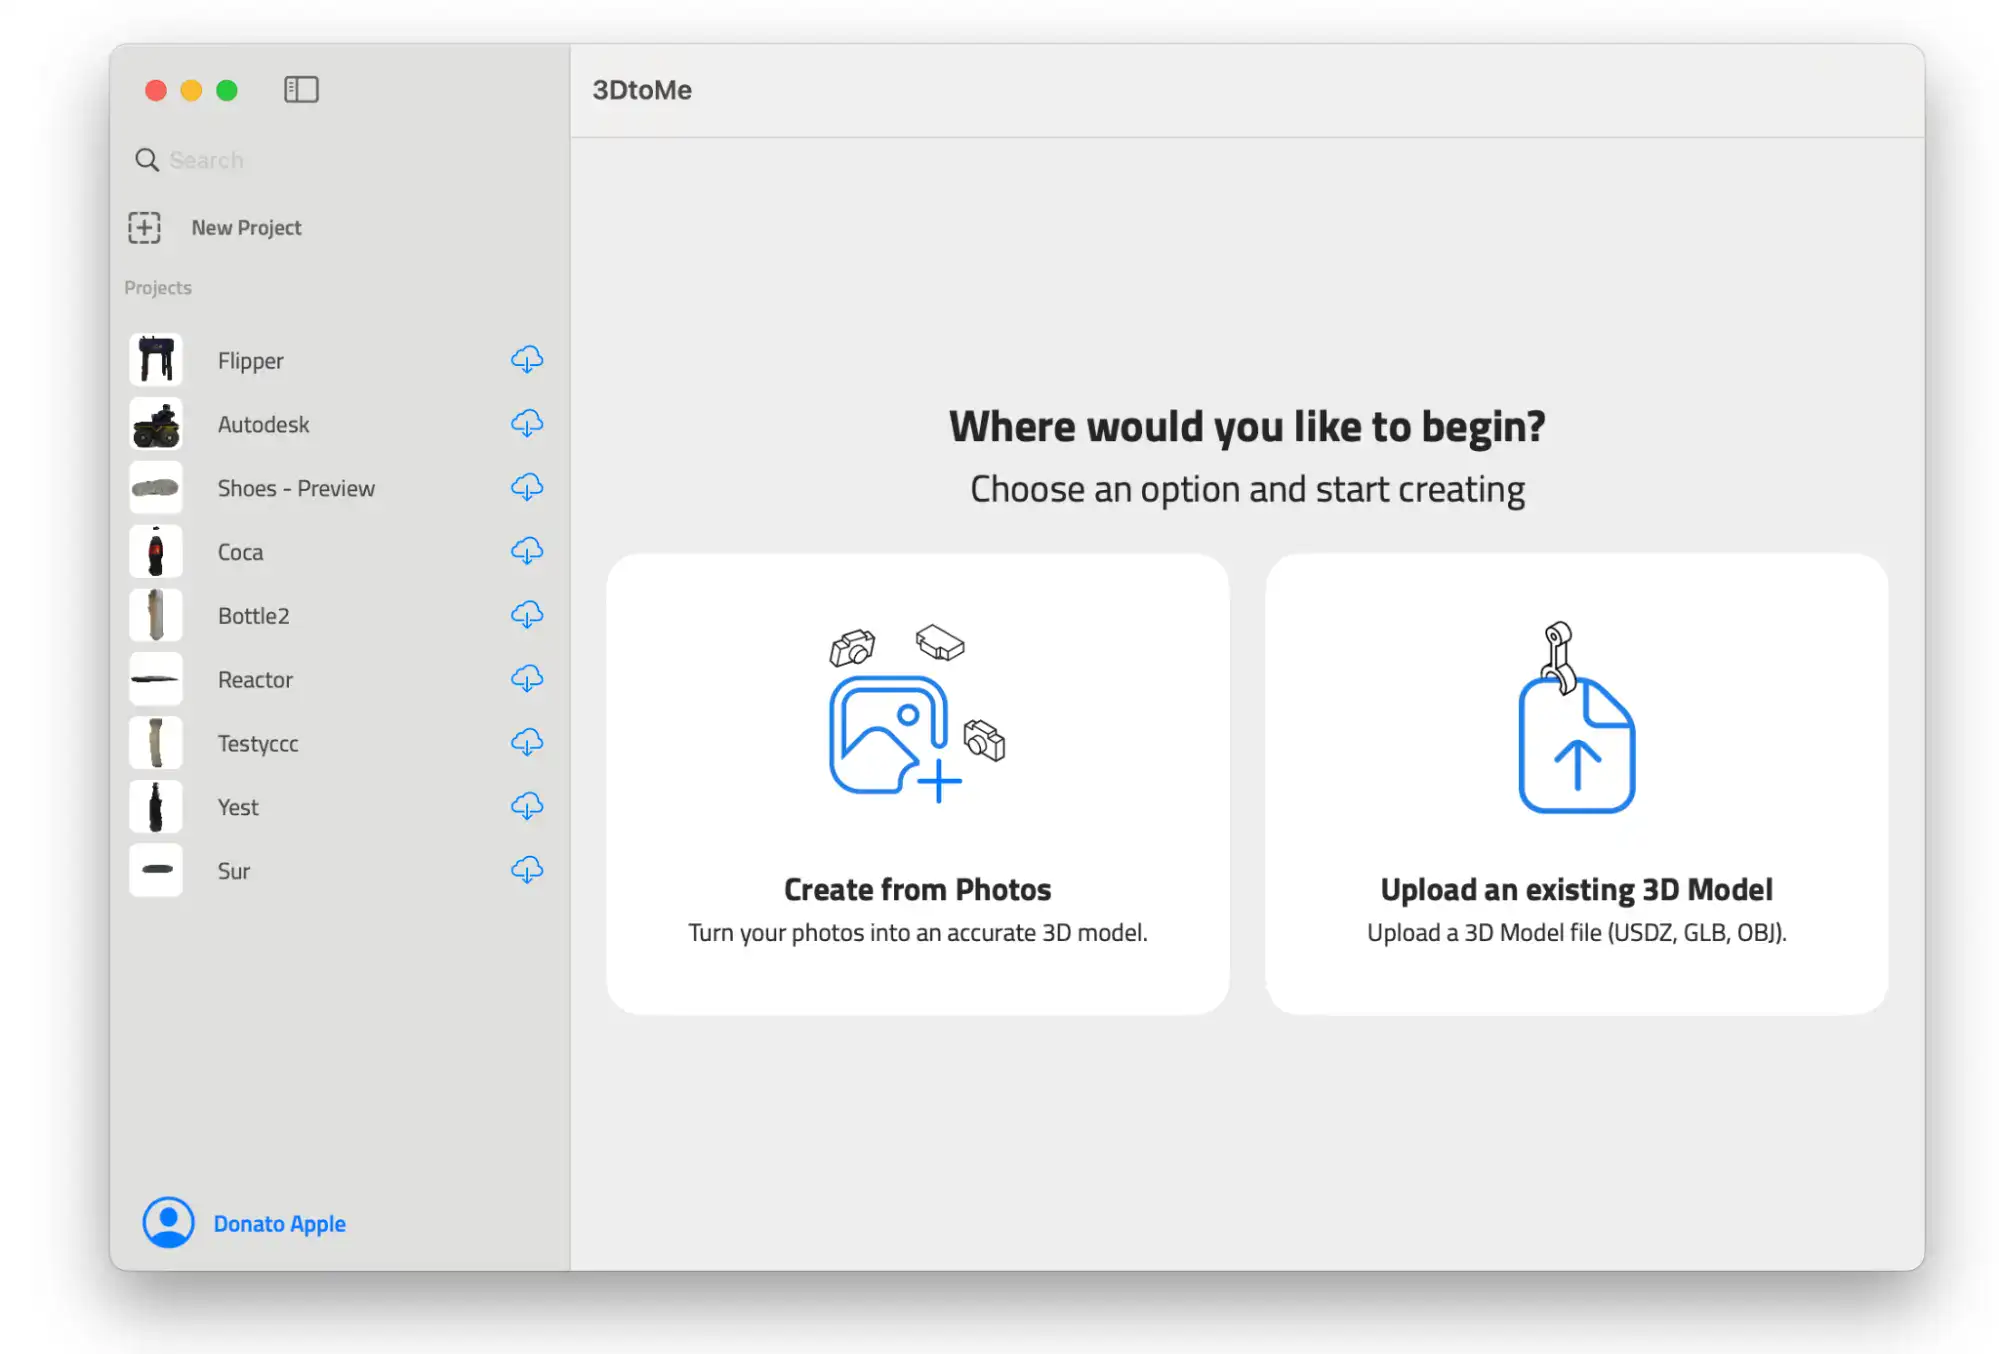
At the left, you will find the tab column with the New Project button, the projects list, and, at the bottom, the User button.
To update the list of projects, you can pull down on the projects section. To open a project, you can tap on it. To download a project, tap on the Download button.

Search for a project by tapping on the Search bar and entering the name of the project you are looking for.
Create a new project

At the opening of the app or after clicking on the New Project button, you will be prompted to choose between creating a new project from a series of photos or uploading an existing 3D model.
If you choose Create from Photos, you will be taken to a screen where you can upload photos of an object to create a 3D model.
If you choose Upload an existing 3D model, you will be prompted to enter a name for the project and then taken to a file picker where you can select a 3D model to upload to the app.
Create a new project from photos
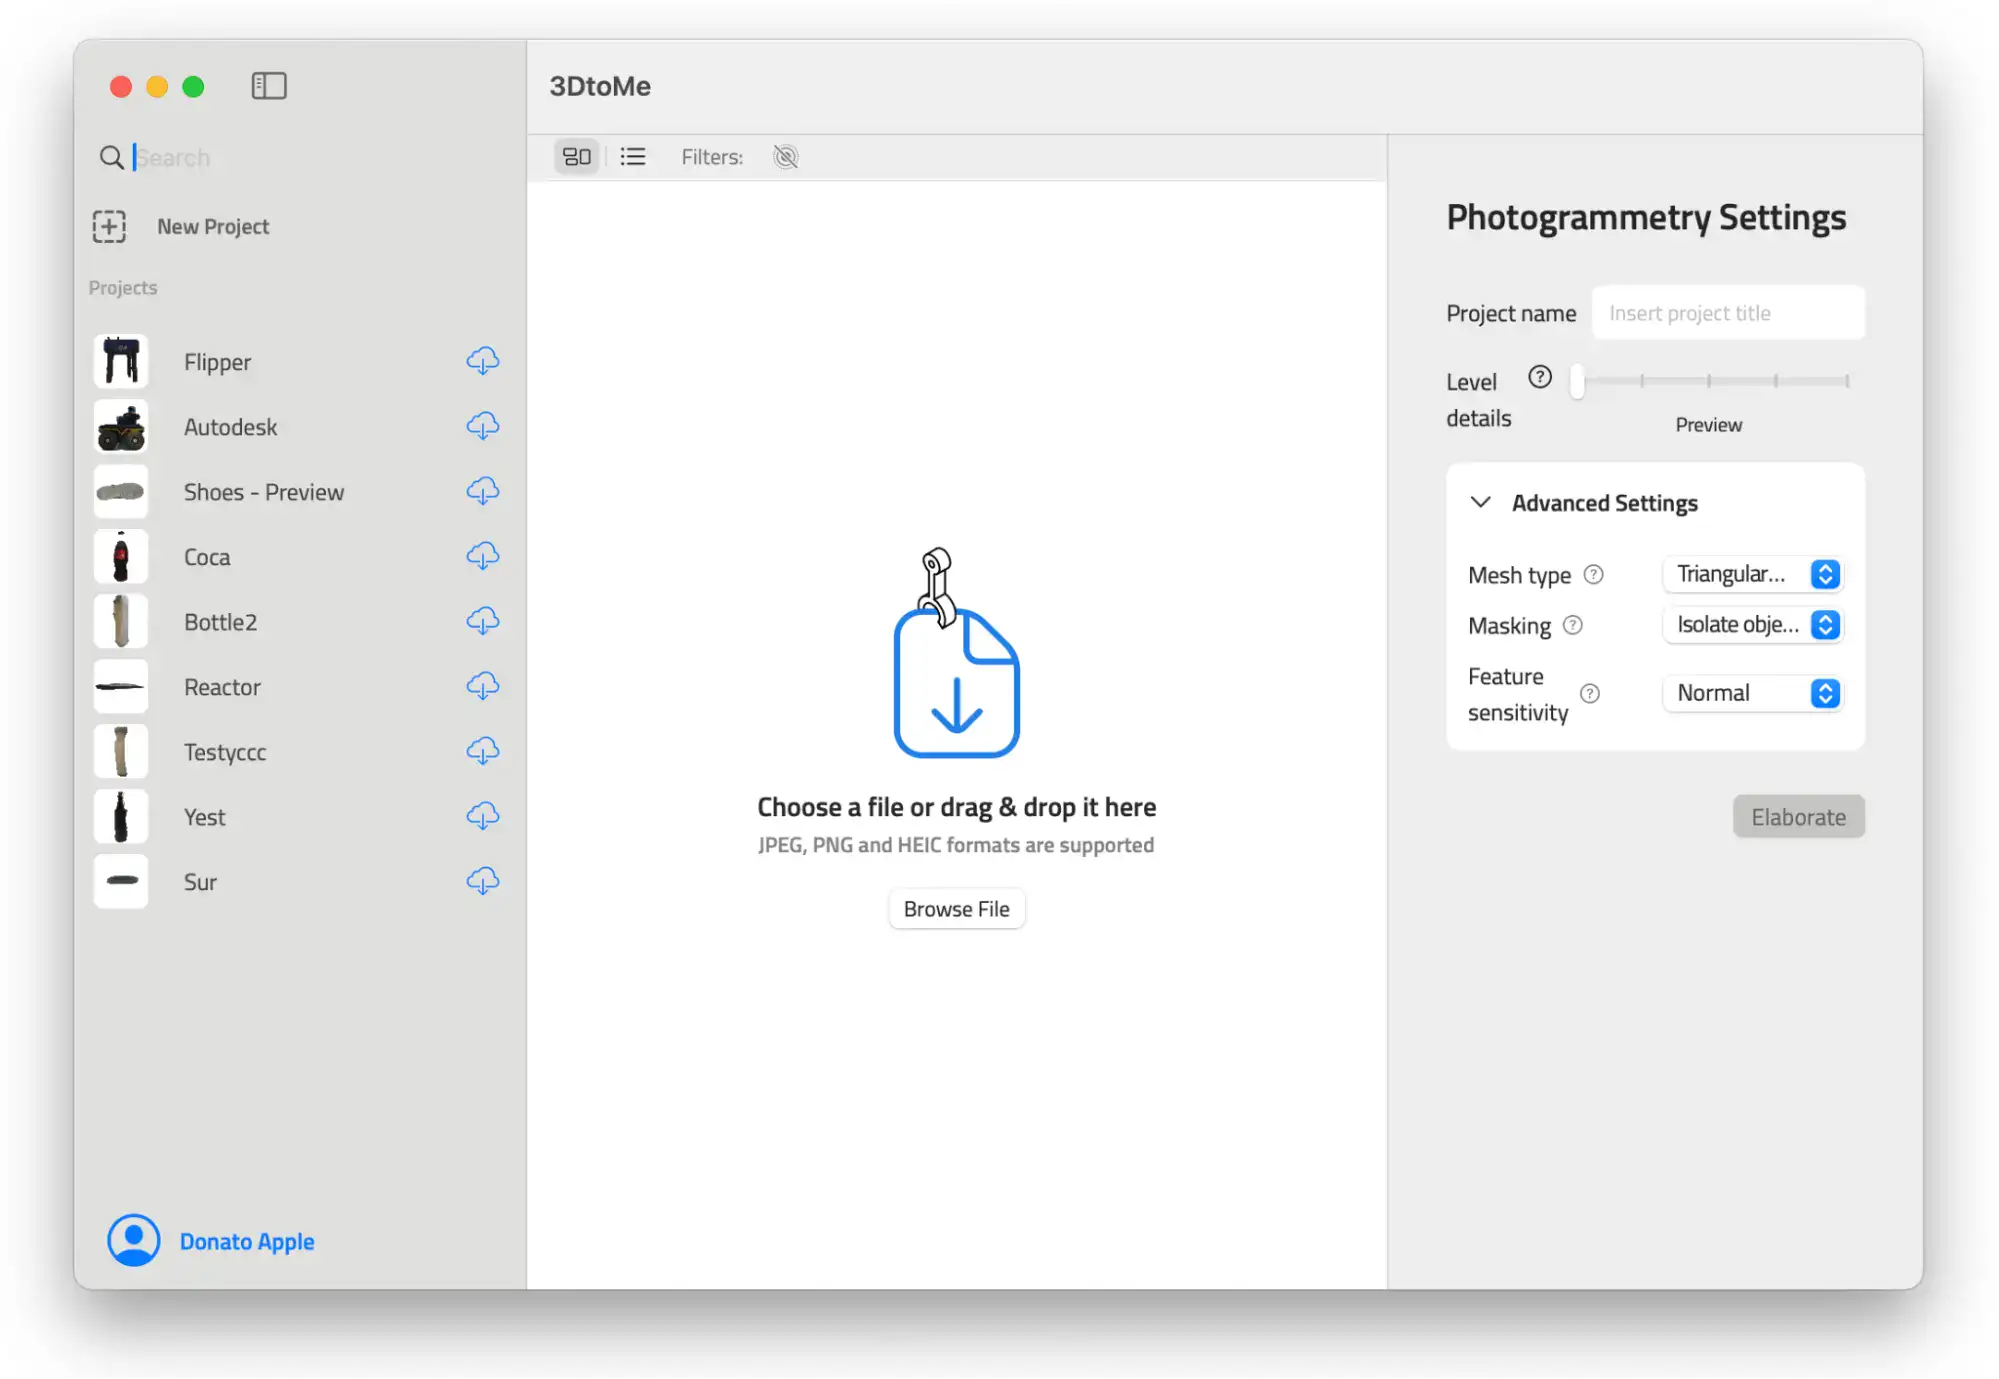
In the Create from Photos screen, you can upload photos of an object to create a 3D model.
At the top of the screen, you will find the Project title field where you can enter a name for the project. Then, you are prompted to choose the level of detail for the 3D model result by dragging the related slider.
Each level of detail corresponds to different sizes and complexity of the 3D model so you can choose the one that best fits your needs.
To upload photos, you can click on the respective section and select the photos you want to upload or drag and drop them into the app.
The more photos you upload, the better the 3D model will be. Also make sure to take photos from different angles and distances to get the best results.
Click then on the Elaborate button to start the 3D model creation process.

Upload an existing 3D model
After choosing Upload an existing 3D model, you will be prompted to enter a name for the project. Then, you will be taken to a file picker where you can select a 3D model to upload to the app.
Take a look at the 3D models section to learn more about the supported file formats and the maximum size of the 3D models you can upload.
Remember that, expecially for e-commerces and shared projects, the 3D model size should be as small as possible to ensure a good user experience.
After you have selected the 3D model, wait for the upload to finish and then start to interact with it!
Model section
Once you have clicked on a project, the Model section will open. This section is where you can view and interact with the 3D project.
At the right of the Model section, you will find the tab column with the actions and the informations related to the project.
Next Steps
- Discover the features of 3DtoMe.
- Learn how to create a 3D model with photogrammetry on macOS.
Still have questions?
If you still have questions, please reach out to our support team for assistance.
Contact Support