Object Mode Photogrammetry
With Object Mode Photogrammetry you can create 3D models of real objects with your iOS and iPadOS device.
Overview

Method Object Capture
Capture entire objects and separate them from their surroundings. Works in indoor and outdoor environments.
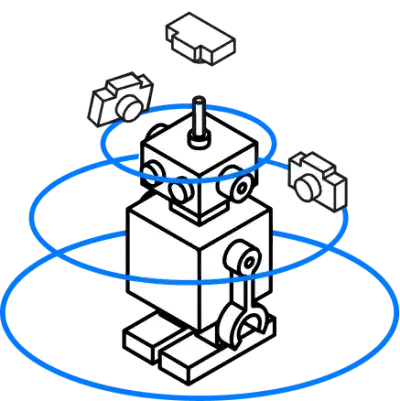
Object mode photogrammetry allows you to create 3D models of real objects. You can use this mode to create models of objects that you can hold in your hand, such as toys, tools, and other small objects or big objects that you can move and rotate.
When you use object mode photogrammetry, you need to take photos of the object from all sides. The more photos you take, the better the model will be.
Frame the object

Method Object Capture
Identify your object
Go around the object framing it from different angles, as if you were shooting a video.
If possible, try to put the object in an environment with good lighting and a uniform background. This will help the app to create a better model and recreate the object more accurately.
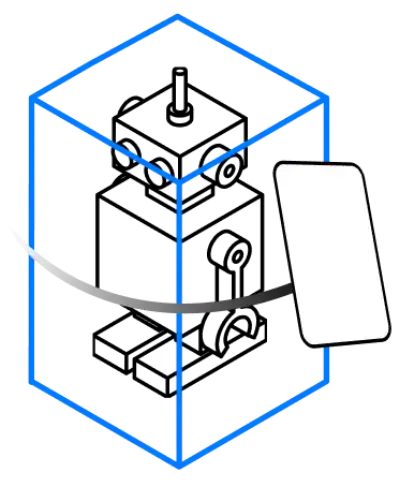
When the app asks you frame the object, try to keep the object in the center of the frame and make some little movements so the app can capture the object and can create a white box around it.
If the box don't contain the object with precision, you can adjust the box by dragging the edges of the box. This will help the app to identify better the object and avoid to capture the environment or to lose part of the object.
After you have framed the object, the app will ask you to take photos of the object from all sides. Rotate around the object (if possible) and let the app take the photos. You can see a little preview of 3D result through a point cloud at the bottom of the screen.
Scan the object

Method Object Capture
Scan your object
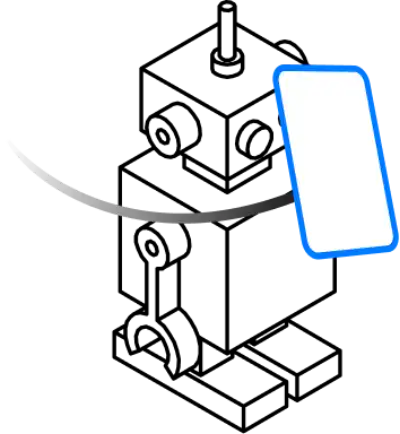
Point the object and walk around it as 3DtoMe automatically captures the right images for you.
After you have framed the object, the app will ask you to take photos of the object from all sides. Rotate around the object (if possible) and let the app take the photos. You can see a little preview of 3D result through a point cloud at the bottom of the screen.
Under the preview you can see a progress bar divided in sections that rappresent the angles of the object that you have to capture. When you have captured an angle, the section of the progress bar will be filled.
If a section of the progress bar is not filled, it means that the app has not captured all the informations needed. So try to move not only on the horizontal plane but also on the vertical plane to capture all the details of the object.
When you have captured all the angles, the app will ask you to do, eventually, another step to improve the quality of the 3D model before it's creation.
Rotate the object and scan again
After a first scan, the app will ask you to rotate the object and scan again. This will help the app to capture all the details of the object and create a better 3D model.
This is an optional step, but we recommend you to do it to improve the quality of the 3D model and to avoid to have holes, missing parts or flat surfaces without details at the bottom of the object.
After you have rotated the object, the app will ask you to do the same as before.
Eventually the app will ask you to do another step to improve the quality of the 3D model before it's creation.
Creation of the 3D model
After completing at least one set of scan you can proceed to the creation of the 3D model. The app will process the photos and create the 3D model of the object.
The creation process can take some time, depending on the complexity of the object and the number of angles captured. You can see the progress of the creation through a progress bar
When the creation is completed, you can see the 3D model of the object and interact with it.
Next Steps
- Discover how to create 3D models of objects and environments on iOS with Area Mode.
- Discover how to use photogrammetry on macOS to create 3D models from images.
- Find out how to obtain a good 3d model with the best practices for photogrammetry.
Still have questions?
If you still have questions, please reach out to our support team for assistance.
Contact Support