
Create a Project and Upload Models
Start a project from your browser and add 3D models and Gaussian splats to it. The viewer converts each one for you.
Overview
Sign in at viewer.3dto.me to upload 3D files from your browser. You can start a new project from a file, or add more models to a project you own.
Create a new project
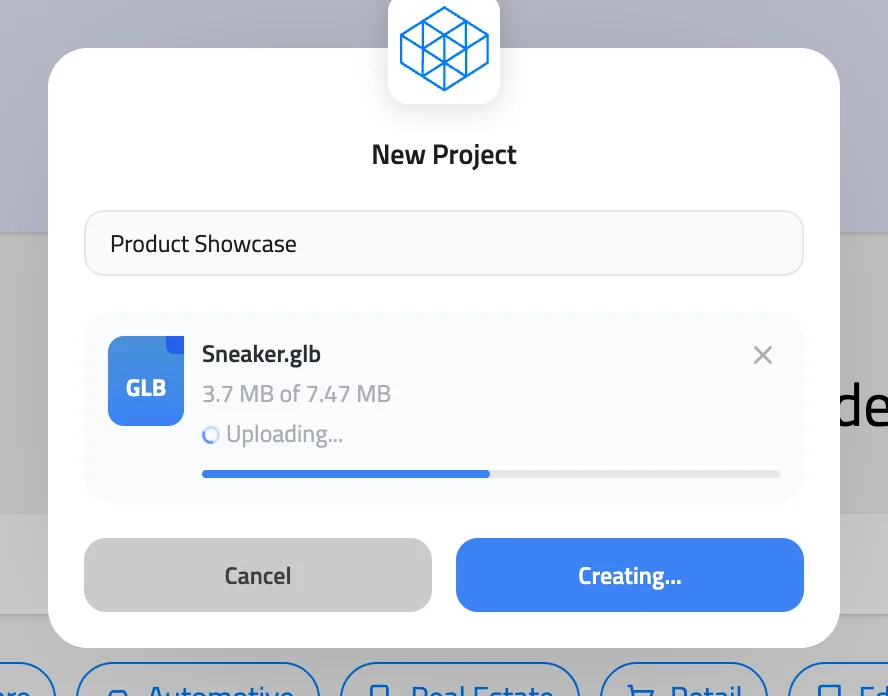
- Click My Projects in the left panel, then New Project. The Start creating button in Explore opens the same window.
- Type a name in the Project Name box.
- Drag one 3D file onto the box that says "Choose a file or drag & drop it here", or click Browse File and pick it. To swap the file, click Change file.
- Click Create.
A status line shows the upload and conversion progress. When it finishes, the project opens with one model named after the project.
To stop an upload, click the small cross next to the file name. The viewer cancels the upload and deletes the unfinished project. To close the window, click Cancel. If you already typed a name or picked a file, click Yes, cancel to discard everything or Keep creating to go back.
The hint under the drop box lists only mesh formats. The window takes Gaussian splat files too.
Add models to a project
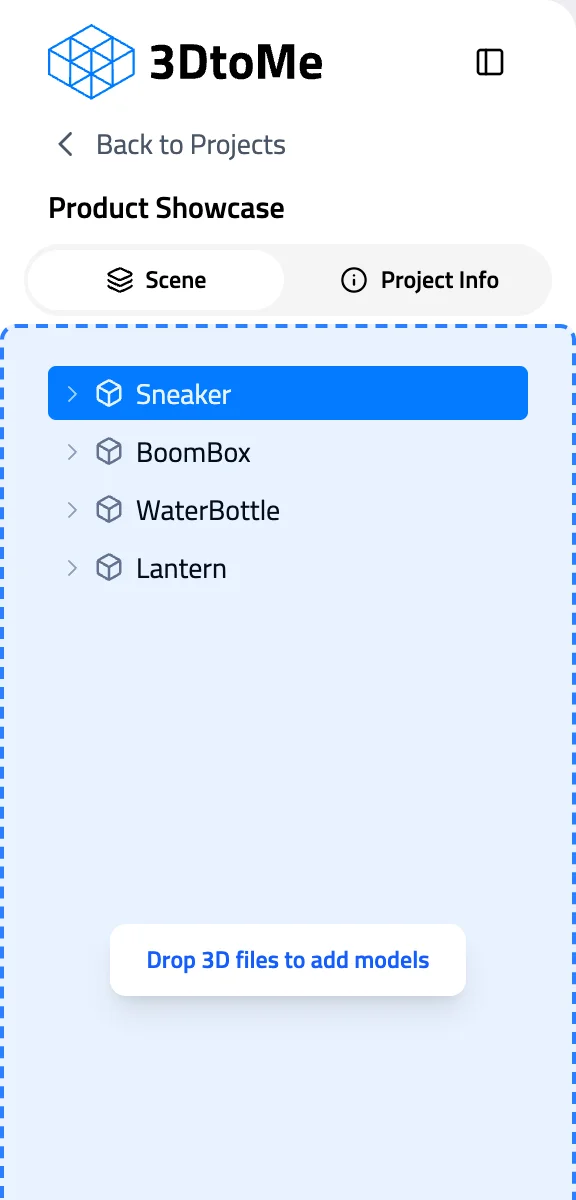
To add more models to a project you own, open it and show the Scene tab in the left panel. Drag one or more 3D files from your computer onto the tab. It turns blue and says "Drop 3D files to add models". Release to start.
A status line shows the progress of each file. With several files, a counter such as "2 of 5" shows which file the viewer is on. Your files also appear in the Assets panel.
- The viewer skips files that are not 3D models and lists them in a dialog at the end.
- If none of the files is a 3D model, the viewer uploads nothing. A dialog lists the formats the Scene tab accepts.
- If one file fails, the viewer stops there. Models added before it stay in the project, and the viewer doesn't start the files after it.
Supported formats
The web viewer accepts 3D models and Gaussian splats in these formats:
| Kind of file | Formats | What to know |
|---|---|---|
| 3D modeling and design apps | GLB, GLTF, FBX, USDZ, BLEND | The model keeps its parts. |
| 3D printing | STL | STL files have no colors and no separate parts. |
| CAD | STEP (.step, .stp), IGES (.iges, .igs) | The model has no colors and no separate parts. |
| BIM | IFC | The model keeps the surface colors from the IFC file. |
| Gaussian splats | PLY, SOG | Every PLY opens as a splat. Convert a mesh saved as PLY to GLB first. |
| Splat archives | ZIP, SSOG | The archive must contain a SOG. See Gaussian splats. |
The web viewer doesn't accept OBJ. Convert an OBJ to GLB first, or upload it from the 3DtoMe app for iPhone, iPad, Mac or Apple Vision Pro, which accept it.
Warnings and failed uploads
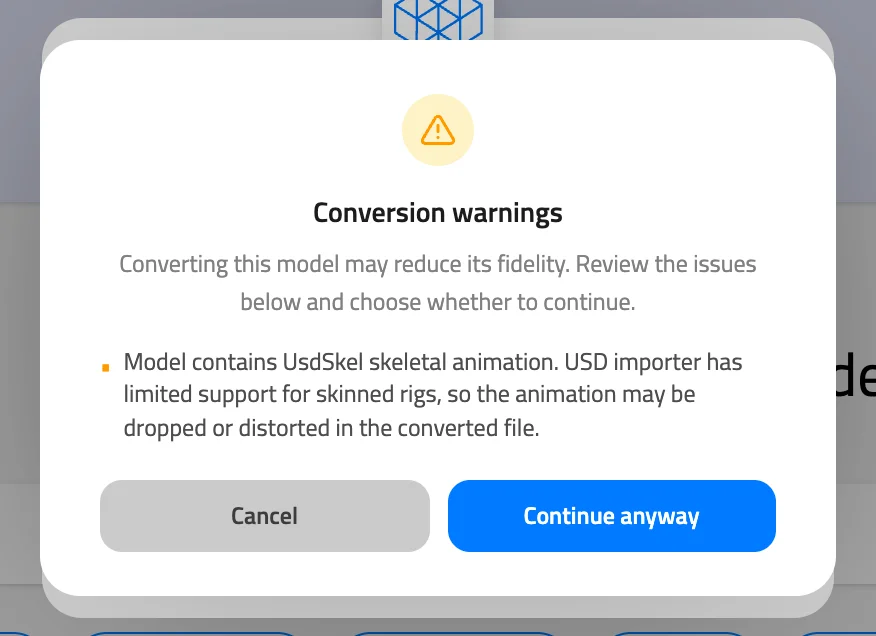
If the viewer finds something in your 3D model that the conversion can lose, it opens Conversion warnings and lists it. Click Continue anyway to convert the file as it is, or Cancel to stop. To read the warnings again later, hover the yellow badge on the file in the Assets panel.
When a model can't be added, the viewer shows Couldn't add the model.
- If the upload fails, drop the file again.
- If the conversion fails, your file stays in the Assets panel. Drag it onto the Scene tab to try again without uploading it again.
- If it fails in the New Project window, your name and file stay filled in, so click Create again.
Good to know
- There is no file size limit. A file that takes longer than about 5 minutes to convert fails. A big splat gets more time. If a file fails this way, reduce its size and upload it again.
- You can also drop files on the Assets panel first. Drag a 3D file from there onto the Scene tab to make it a model.
- You can also add images, videos, audio files and documents to a project from the Assets panel. See Web interface for the file types.
Next Steps
- Learn how to select, hide and move the models you added.
- Learn how splats behave in the viewer in Gaussian splats.
- Find your files in the Assets panel, described in Web interface.
Still have questions?
If you still have questions, please reach out to our support team for assistance.
Contact Support